Here are 7 simple tips to photograph beautiful Macro Images. Tips in this article helped me capture stunning Macro images in Nature. These photography tips will help you to capture awesome Macro images.
Do you want to capture sharp macro images?
Are you looking for beautiful colors in your macro images?
Do you want to photograph well-exposed macro images in a Low Light?
Then you are in the right place.
Because today I am going to share with you 7 simple tips for Macro photography. I use these 7 tips always to capture beautiful macro images of Nature and Wildlife. And I am sure these tips will be helpful to you as well.
And the best part is?
All of these macro photography tips are easy to apply. No matter if you are a beginner or Intermediate level photographer, you can pick up these tips and start creating stunning macro images.
Let’s dive right in!
Here are the 7 tips you will learn in this post.
- Use a tripod or a steady support
- Use a Macro lens
- Use Camera flash with diffuser
- Use Manual Exposure Mode
- Exposure or Camera Settings
- Use Mirror Lock-up or remote release
- Look out for the right season, time of the day, and background
1. Photograph sharp images every time – Use a tripod or steady support
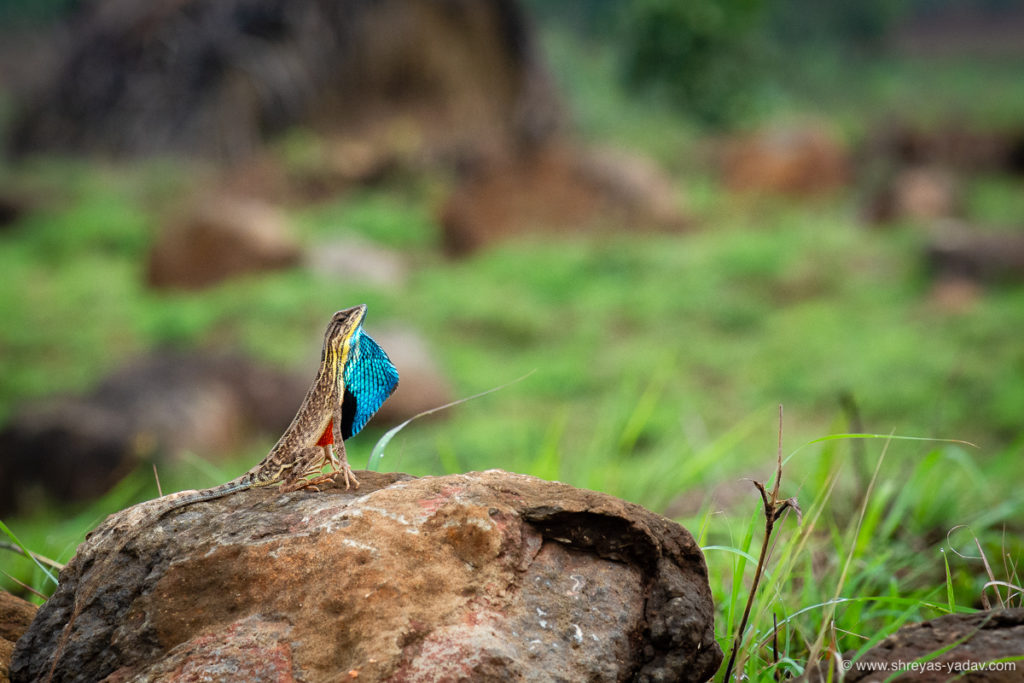
This single tip alone can help you to capture a sharp image every time.
For macro photography, your slight movement can cause you to shift the depth of the field. Because of the slightest camera movement, you will end in blurry or out of focus images.
To photograph sharp macro images, You have to keep the camera steady. Mount the camera on a stable tripod. This will help to restrict any camera movement. You can photograph sharp images using a tripod.
A second reason to use a tripod is that you will be spending a significant amount of time working around lighting and the macro subject.
Mounting the camera on a tripod will help you to take off that weight.
2. Get the right tool – Use Macro Lens
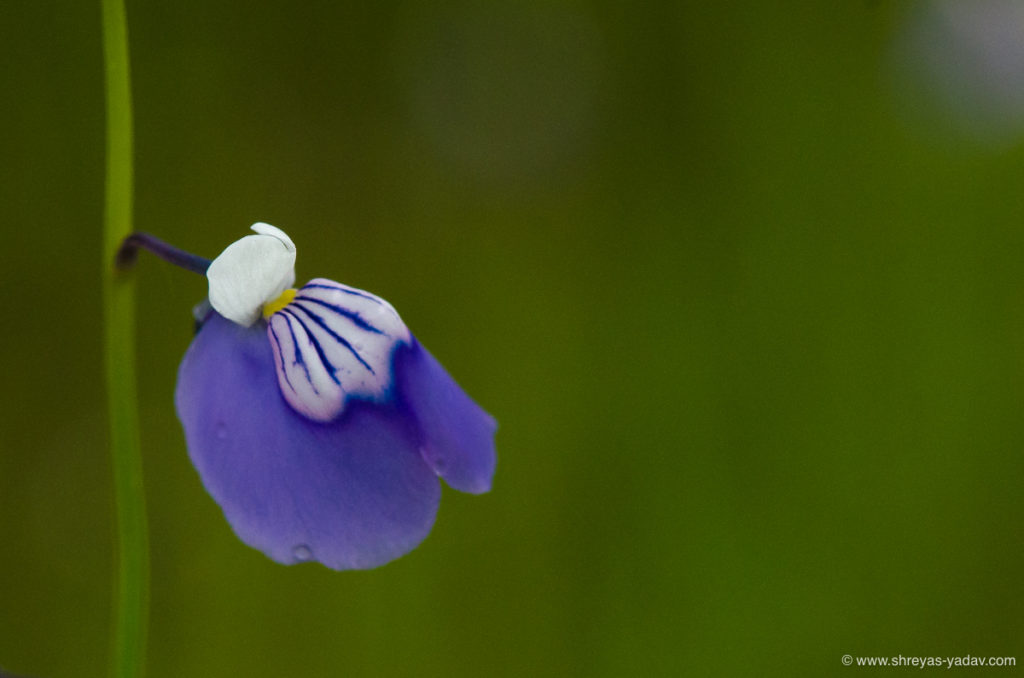
For photographing an image of flowers, insects, butterflies, small creatures, and plants, you need the right tool.
Get the right lens. Lenses such as Nikon 105mm f/2.8, Canon 105mm f/2.8 are beneficial. Also, there are right lenses in the 105mm league from Sigma, Tamron, and Tokina.
I recommend getting the lens the same as that of your camera brand. This makes the glass compatible with the future options of the camera bodies.
Macro lenses can provide 1:1 magnification. These lenses are great for photographing smaller objects. Plus, these lenses can handle harsh weather conditions such as drizzle and dust.
There is another option to get macro images by reverse attaching the lens. These types of arrangements can give you good results, but the specific macro lens will do it way more effectively. Also dedicated macro lens handling and performance is much better in the field.
3. Use a camera flash and diffuser
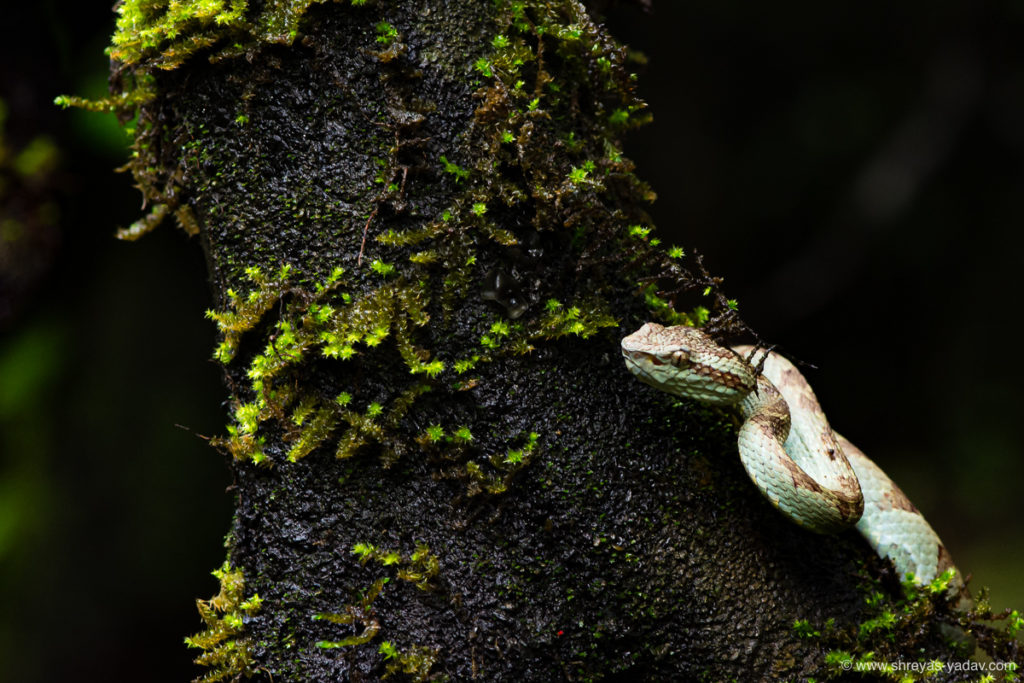
Light levels are generally lower when you photograph macro objects. This is mainly because Macro flora and fauna are active during a cloudy day or rainy day. Many of the insects, frogs, and snakes become active during evening and night.
The objects such as flowers, insects, butterflies, or plants are tiny. To photograph the sharp details, structure, and colors, you need an external light source.
Mostly the ambient light is insufficient to photograph the details and colors of the macro object. Hence you will need an external light source.
An external light source can be an on-camera flash or external Flash.
On-Camera, Flash consists of Built-in or pop-up Flash. This Flash comes with a Camera.
External Flash is an external flashlight or external ring flash. You can attach the external flashlight on your Camera, or you can take it off and remotely trigger it.
You can attach Ring flash in front of your lens. This Flash is a circular type.
External flashes are better options for macro photography because you can adjust their position. They have additional controls as well.
Whereas with on-camera Flash, you can illuminate the subject from the front only. However, in this article, we will learn how to use an on-camera flash.
With on Camera pop-up flash, you can create beautiful macro images.
To avoid harsh light illumination of the subject and diffuse the light evenly across the subject, light diffusers are used.
Imagine you are taking pictures in harsh sunlight and diffused light. The picture which you photograph in the diffused light is much better because of even lighting.
A similar concept applies to flash photography, as well. Also, you can reduce harsh light exposure to the objects by using diffusers.
There are multiple on-camera flash diffusers available in the market. You can get it online or buy it from a local camera store. Pick one which serves the purpose and fits right on your Camera and move on.
4. Control your Camera – Use manual exposure mode and focus manually
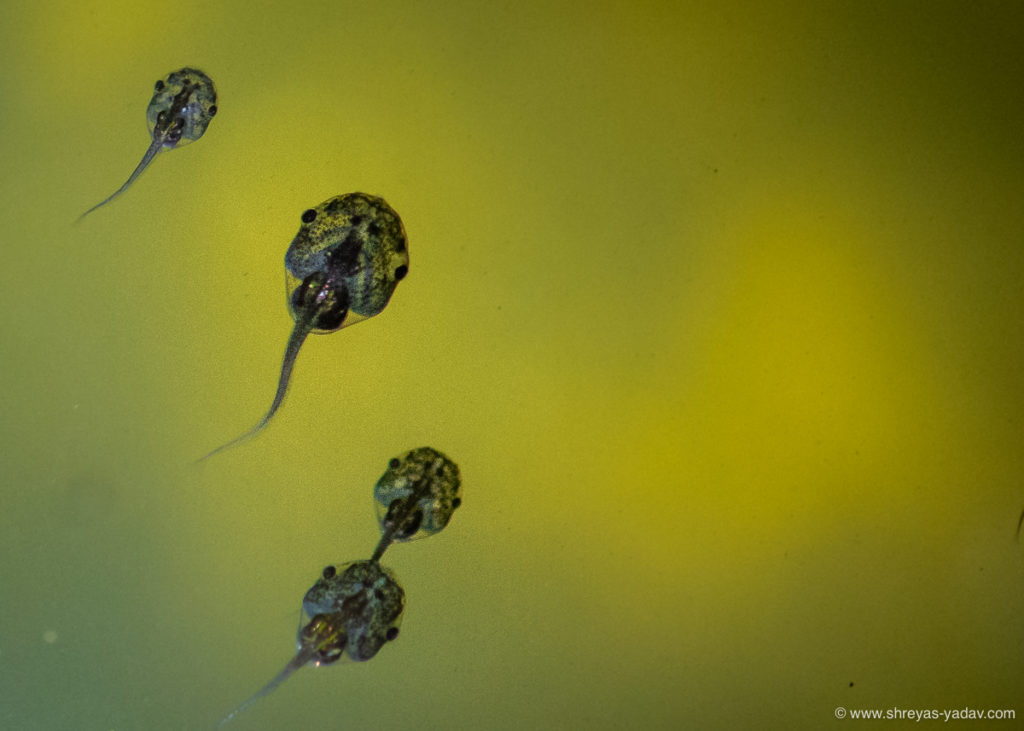
Let me tell you the simplest method to photograph macro images – Use manual exposure mode. Well, manual mode sounds complicated, but it is not.
Actually, controlling your Camera using Manual mode is the easiest way to photograph macro objects.
Here is my secret formula to photograph Macro objects. Surely it will help you too!
I use manual mode and on-camera Flash. For the light condition, I check a few combinations of aperture and shutter speeds—the one which works excellent, I pick up that setting. And then shoot almost all macros with the same setting in that lighting situation.
In the next tip, you will learn which camera settings to use.
In summary – Use almost identical camera settings for the specific light situation. Change the setting only if there is a change in ambient light levels.
Generally, it takes about 5 minutes ( 10 to 12 test shots ) to get appropriate camera settings. Later I shoot with those settings for almost an hour or so. I tweak bit on shutter speed, aperture, and flash compensation. I don’t make any significant changes in the settings.
5. A magic bullet for Macro Photography – Camera settings
The camera settings I am mentioning here are a good starting point. You will get close to your dream macro image. For creating that image, make some little changes based on ambient light and your subject.
Here we go
Exposure mode – Manual exposure mode
On camera pop up Flash – On
ISO – Use the ISO within range of ISO 100 to ISO 1600 ( In the steps of ISO 100, 400, 800, and 1600. It will depend on the camera, that how much noise it can handle )
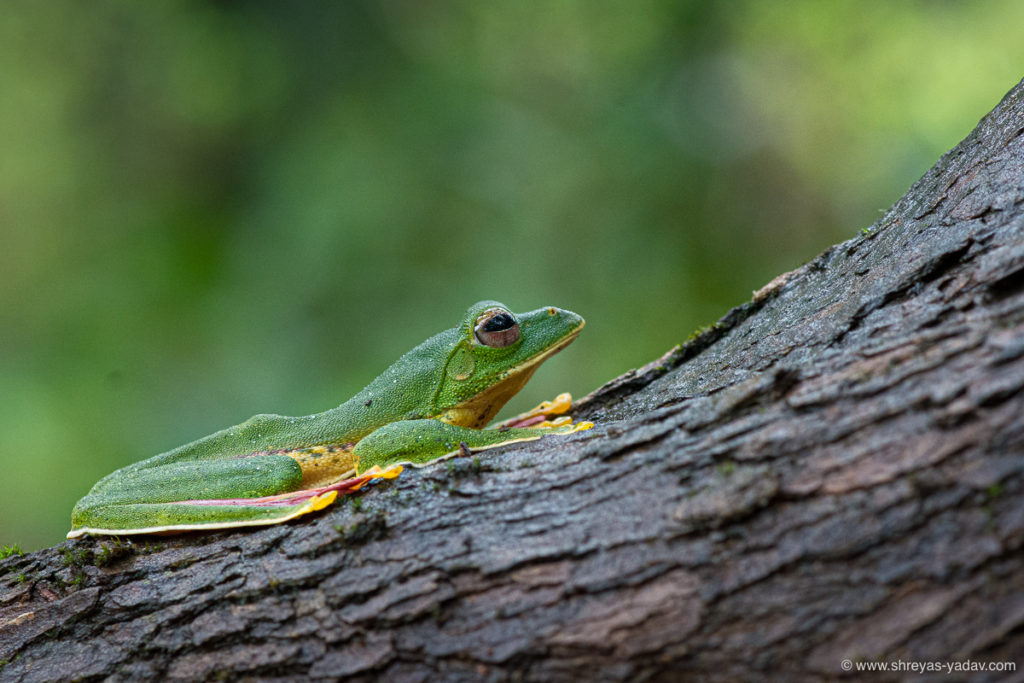
Aperture – For smaller subjects, use Aperture f/14 to f/22 ( e.g f/14, f/16, f/18, f/20 ). For relatively large objects such as Snake or Frogs you can use f/8 or f/11.
Shutter speed – When a flash is turned on, there is a maximum shutter speed up to which you can use. Mostly it is 1/200s to 1/250s. With Flash turned on, you cannot go beyond these shutter speeds.
Use the shutter speed in the range of 1/20 s to 1/100 s ( 1/20s, 1/30s, 1/60s, 1/80s, and 1/100s ). If there is more ambient light, you can go up to 1/250 s as well.
Focus mode – Use Manual focus. Use the focus ring on your lens to focus on the subject. With manual focus, you can get an accurate focus for small objects.
The manual focus is reliable in low light conditions. While focussing, you can use a live view as well.
If the object is relatively large and sufficient ambient light conditions are available (e.g., Snake, butterfly, or flower ), you can use autofocus. You can use live view while autofocusing.
6. Use mirror-lock up or use a remote release
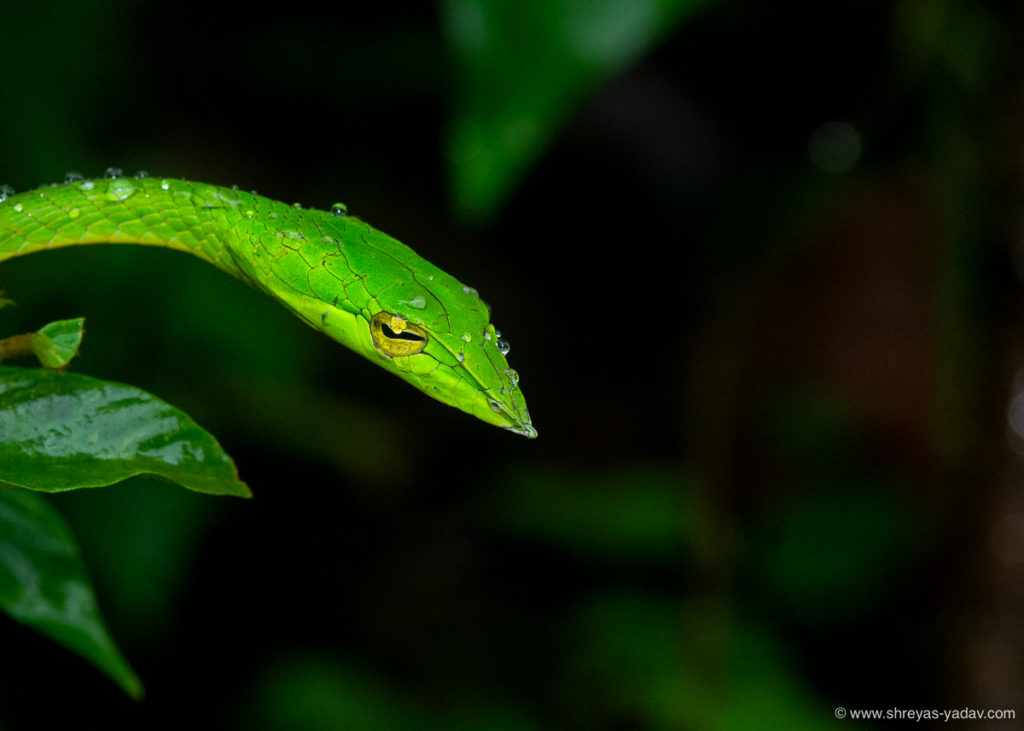
When you click an image ( using DSLR ), there is a movement of the mirror. The movement of the mirror causes vibration and shake. Also, while clicking a picture, your hand causes some shake.
At slow shutter speeds, vibrations from the mirror or shake from your hand make the image blurry or out of focus. Hence if you are using DSLR, use the mirror lock feature. Also, to avoid a handshake while clicking, you can use a remote release. I use remote release cable Nikon MC-DC2.
You can use a wired or wireless remote release. Get the compatible remote version for your Camera and use it. If you don’t have a remote release cable, then simply put the Camera on a 3-second timer and get the image.
With mirrorless cameras, you don’t need the mirror lock-up feature ( As there is no mirror ). Only a remote release setup is good enough to avoid any camera vibrations.
7. Look out for the season, time of the day, and background
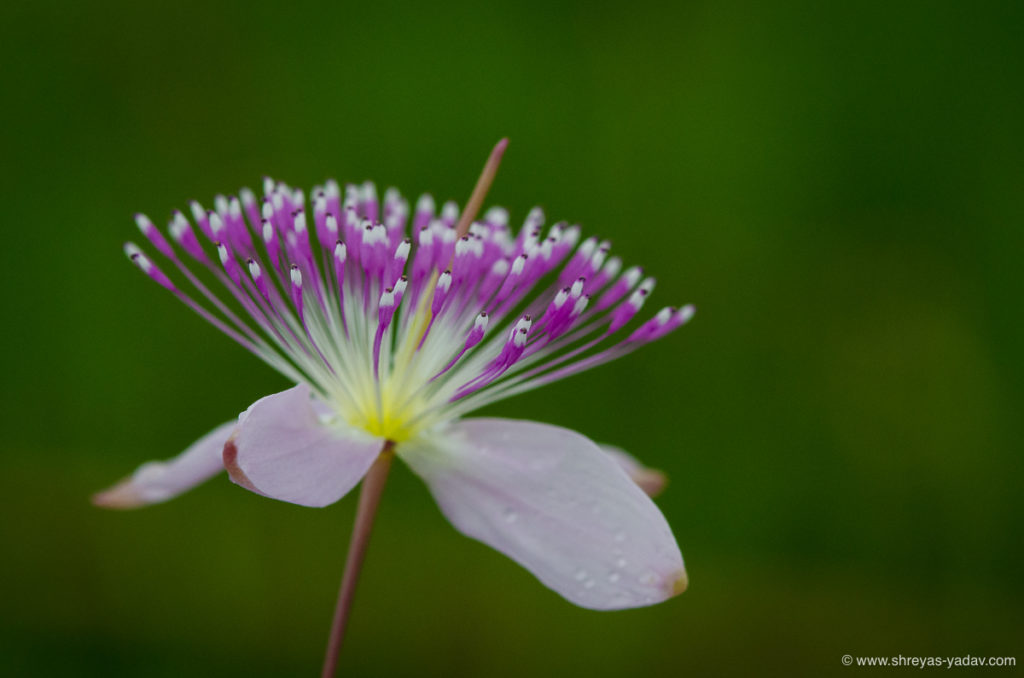
The season is essential for macro photography. Macro flora and fauna ( flowers, insects, frogs, plants, snakes, and other smaller creatures ) get most active during the rainy season. I recommend the best season for outdoor macro photography is Monsoon ( Rainy season ) and winter.
Micro fauna such as frog, insect, and Snake is usually active during evening and night time. Hence for photographing them evening and night time are the best.
For photographing flowers and plants, early morning light is excellent. Morning time is also suitable for photographing butterflies and beetles.
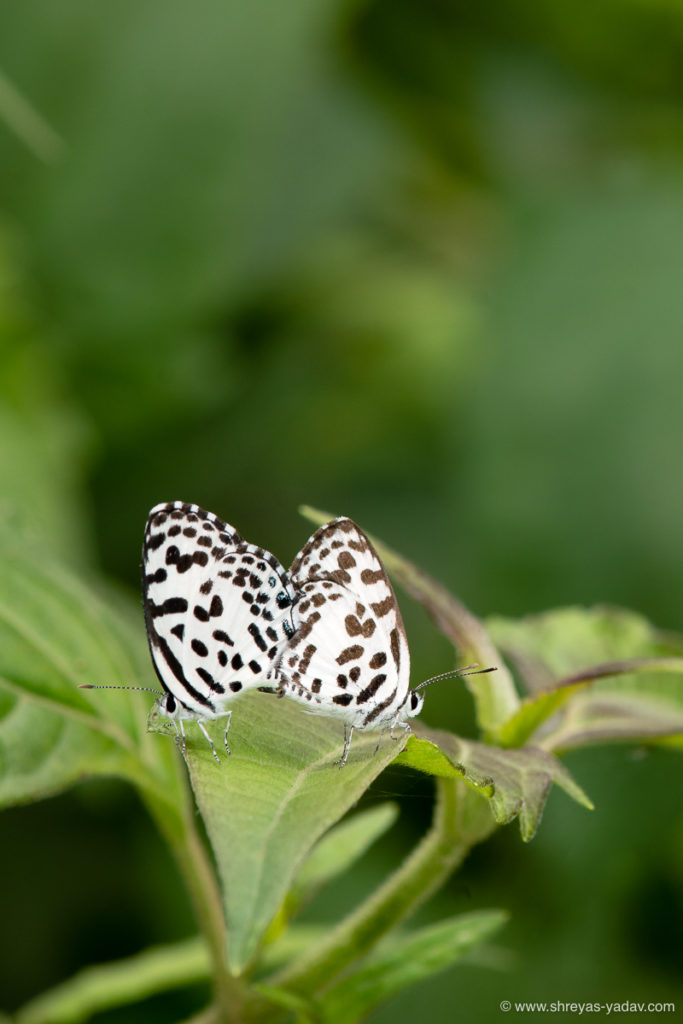
Hence watch out for the time of the day for photographing Macro objects.
The main element of your images will be the macro subject and background. Hence, while you photograph, watch out for the subject background. Compose your image in such a way that you can have a clean and smooth background. It would be better if you can get a background of complementary colors as that of your subject.
In nature, generally, you will get background colors such as green, grey, and brown.
That is all for now! These are the 7 things that I follow to photograph macro images.
Now it’s your turn!
I hope you enjoyed tips on creating Macro images.
Let me know your thoughts on these tips or If anything is missing.
Either way, let me know by leaving the comment below right now.
EXPLORE. PHOTOGRAPH. INSPIRE
JOIN OUR NEWSLETTER AND GET THE BEST ARTICLES ABOUT DIGITAL POST-PROCESSING AND PHOTOGRAPHY TECHNIQUES. NO CHARGE. NO SPAM. ONLY LOVE.
You have done another great piece of writing. Very simple, clear and attractive. You are a Master Teacher. Warm Regards.
Glad to know you found this article useful. Thank you .
The tips are helpful
The tips are very helpful
Hi Samitesh, Glad to know you found the tips helpful. Thank you.
Very detailed and lovely article. Helpful indeed.
Thank you. Good to know it is helpful to you.
Explained in very easy language, very useful. Which macro lens do you suggest for Canon. I am using 80D.
Hello Mukul,
I am glad to know you found this article useful. Canon Macro 100 mm is good lens for Canon Body.
Thanks