This article is a step by step guide on creating beautiful waterfall images. Techniques mentioned in this article will help you to create beautiful photos of the waterfall.
Want to photograph beautiful and dreamy waterfall images?
Then you are in the right place.
Because today I am going to show you six proven techniques to photograph beautiful waterfall images.
These same techniques helped me to create awesome waterfall images every time.
Let’s do this!
And here are the techniques you will learn in this post
- Use stable support such as Tripod
- Setup low ISO and larger aperture number
- Set your camera on slower shutter speeds
- Cut the light by using neutral density ( ND ) filter
- Image composition
- Post-process the image for fine-tuning the tonality and colors
1. Use stable support such as Tripod
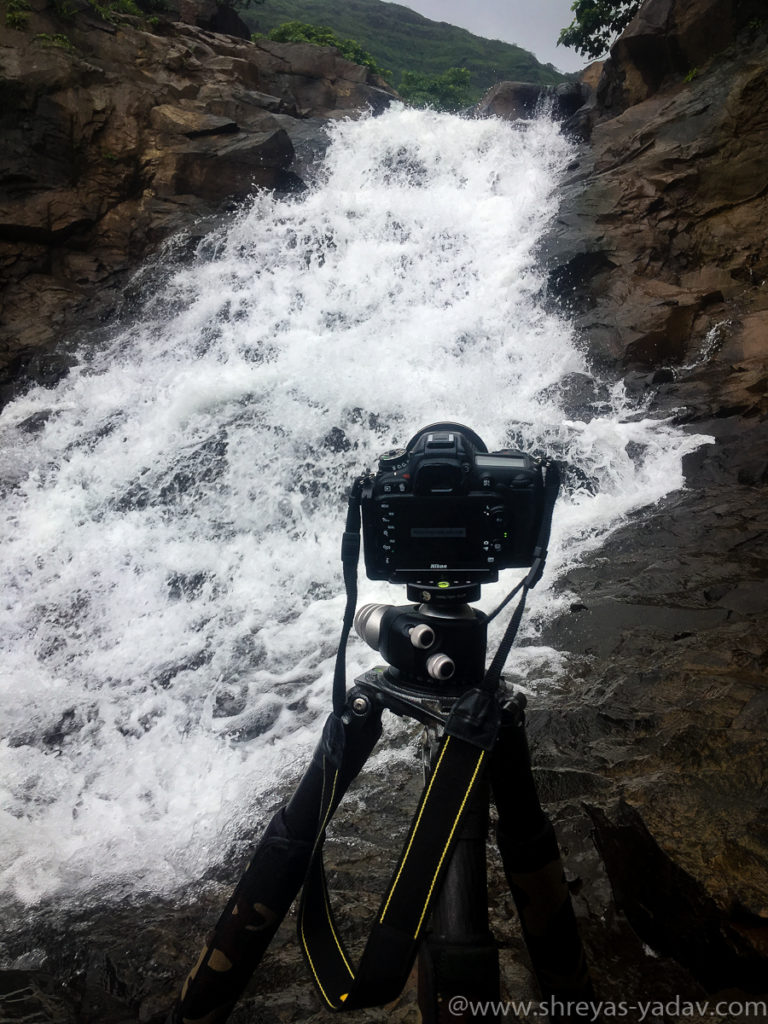
For photographing a waterfall with silky water flow, you need to set slow shutter speeds.
At slow shutter speed, steady support is a must to avoid any camera movement.
Tripod is essential to use slow shutter speeds and capture the smooth flow of water.
With the use of Tripod, you can use shutters as slow as 30 sec without any camera movement. As you have slower shutter speeds, you can select low ISO values as well.
Apart from stable support, using a tripod will help you to compose the image much better.
When you use a tripod, you think slowly. Slow thinking helps to create artistic compositions and stunning images.
Hence I highly recommend that you use a tripod while you photograph a waterfall.
2. Setup the low ISO and large aperture number
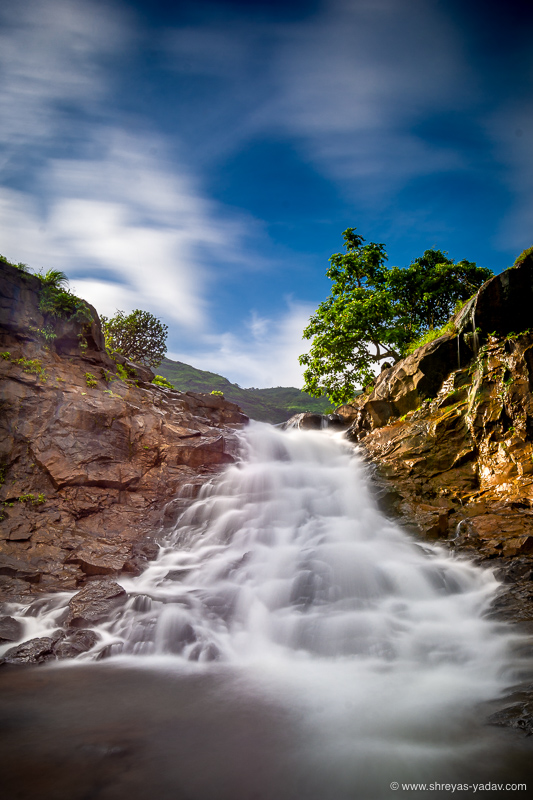
Select lower the value of ISO such as ISO 50, ISO 100 or ISO 200
Low ISO values will not only help in lowering the shutter speeds, but it will also improve the image quality.
For photographing the waterfall, you need a deep depth of field.
With a deep depth of field objects surrounding the waterfall, such as rocks, flowers, streams, and plants, will be in focus.
Increase the aperture to a value of f/11, f/16, or f/22 to increase the depth of field.
Another benefit of increasing the aperture number is that you can reduce the light entering the camera.
As you will use slow shutter speed, more light will enter the camera. In order to compensate for the slower shutter speed increase the value of aperture. This is to reduce the light entering the camera.
3. Set your camera on slower shutter speeds
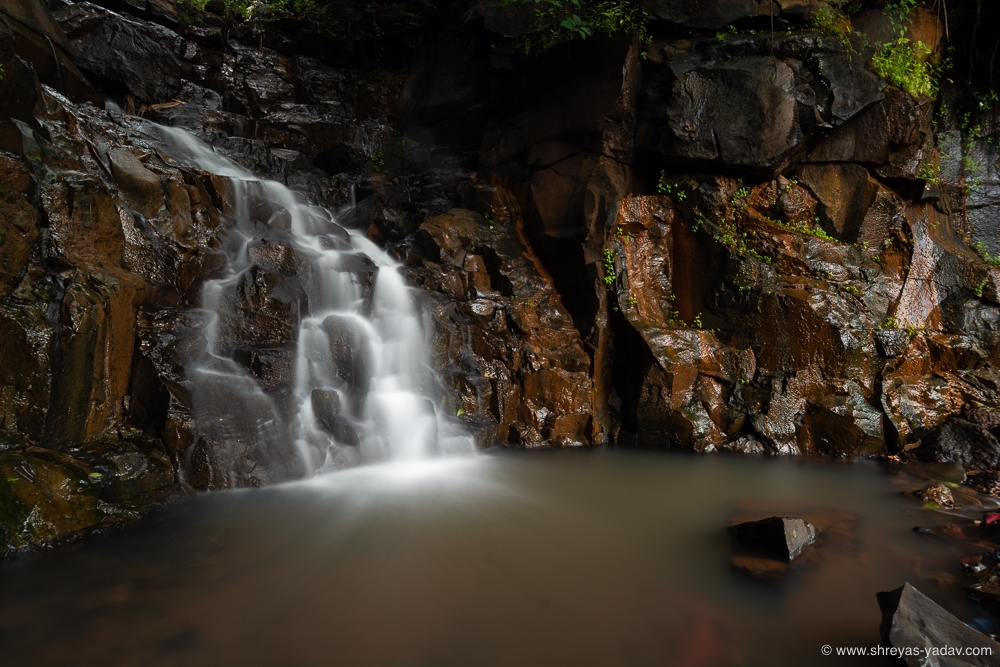
For creating a smooth and silky effect to the flowing water, use the slower shutter speeds.
Slower the shutter speeds = smoother the water flow.
I do select the slower shutter speed based on overall scene, light conditions and objects surrounding the waterfall ( Such as rocks, animals, flowers, and humans )
Start slowing down the shutter from 1/10 s and below, such as 1/10s , 1 s, 10 s, 20s, and 30 s.
Select the slower shutter speeds as per your creative choice.
4. Cut down the light using neutral density ( ND ) filter
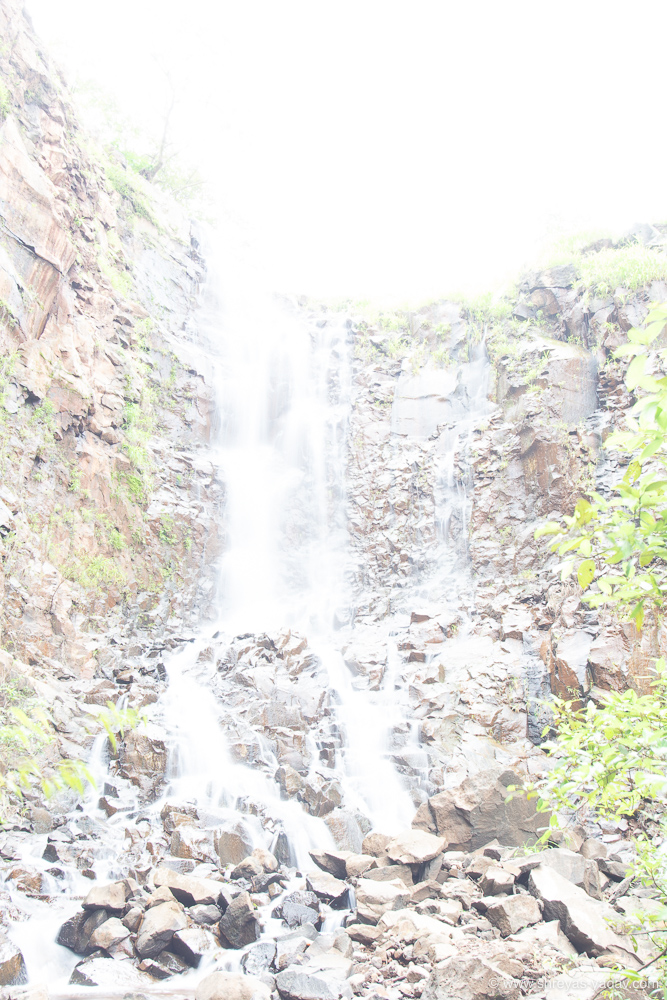
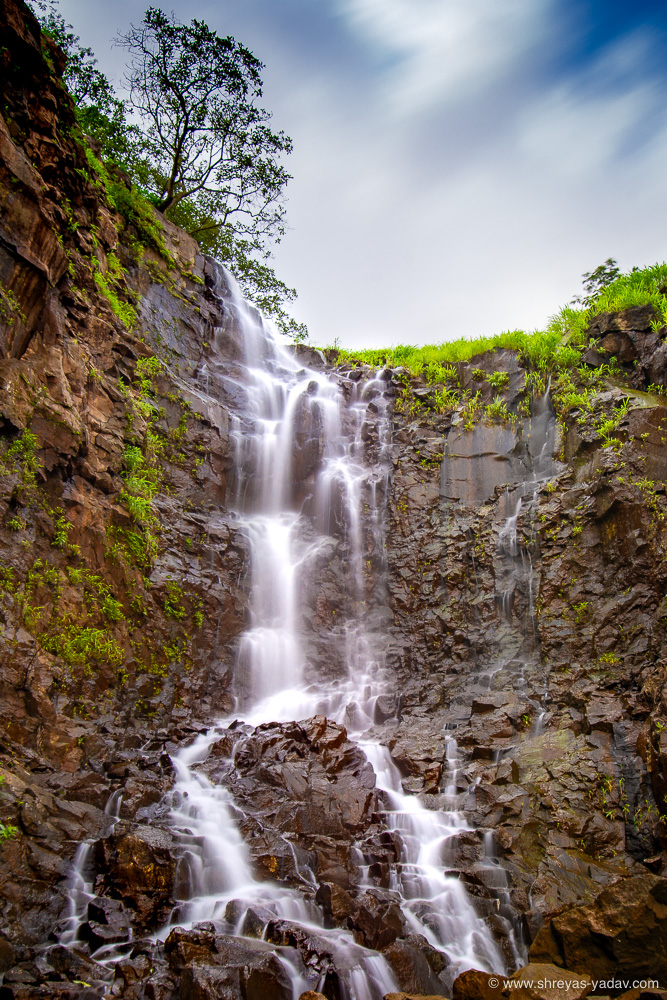
Using the neutral density filter is an optional step.
While using Manual exposure mode –
If you have lowered the ISO values up to ISO 100
Increased the aperture value up to f/22 and set the shutter speed up to say 10 seconds
Still, the image is overexposed – it means that more light is entering the camera.
You can have to cut down the light by using a neutral density filter.
Similarly
In the Aperture priority mode –
If you have set the ISO to low values such as ISO 100
Increased aperture up to f/16 or f/22
Still, you are not able to get the shutters speeds in seconds ( 1 s, 5s or 10 s )
In that case, you have to cut down the light entering the camera.
This will help you to achieve slow shutter speeds.
The use of a neutral density filter will help you to capture beautiful slow-motion images.
I use the Nisi ND filter, which cuts down the light by ten stops.
I do recommend a Neutral density filter that cuts down the light at least by six stops or ten stops.
Here are some of the good filter brands – Hyda, Nisi, Hoya, and B+W
5. Image composition
While image composition is a vast topic, and everyone will have a unique perspective.
However, here are some specific guidelines that will help you to create a beautiful composition.
- Selection of frame – Horizontal vs. Vertical
- A different perspective – Wide-angle vs. Close up
- Simplify – avoid the distraction
- Leading line of waterfall flow
- Include an object along with a waterfall
Selection of frame – Horizontal vs. Vertical
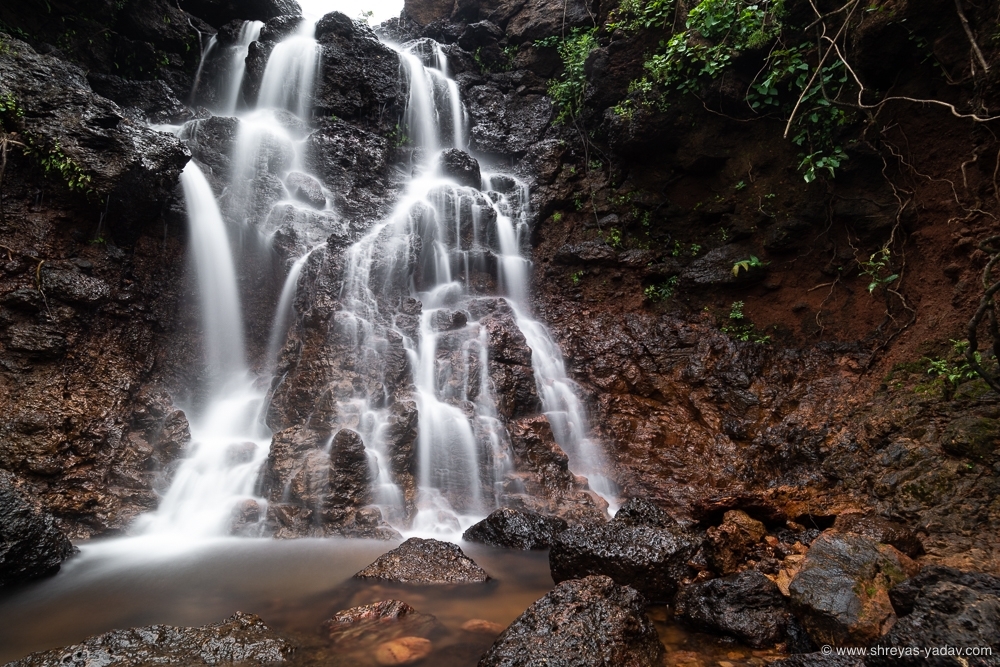
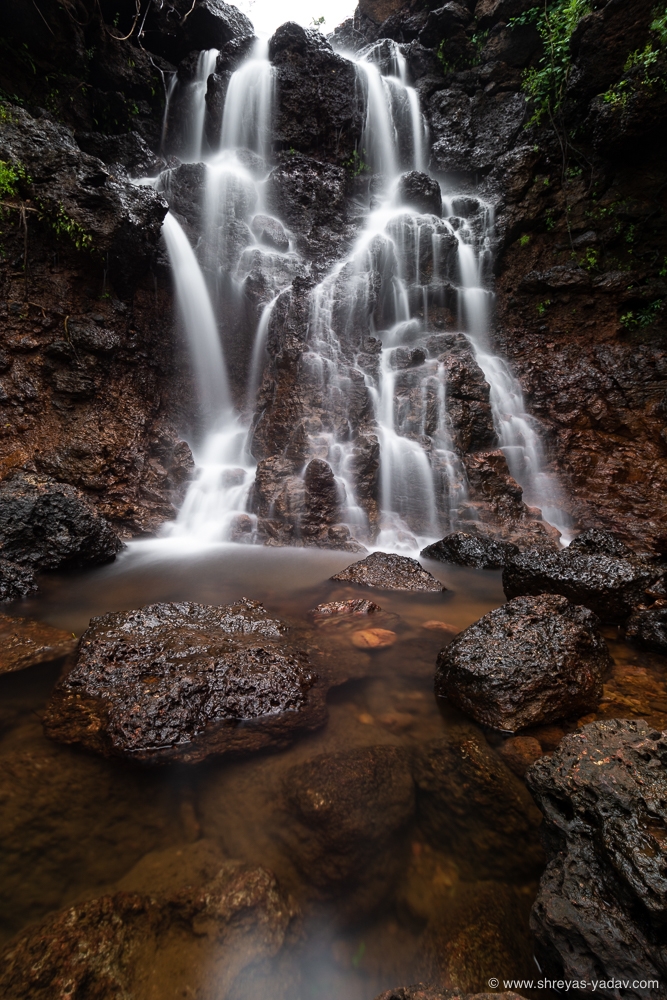
Choose horizontal composition when you want to photograph a specific part of the waterfall along with the objects surrounding the waterfall.
For photographing complete waterfall from top to bottom, select vertical composition.
It is a creative choice. Try vertical and horizontal compositions and see which works best for you.
A different perspective – Wide-angle vs. Close up
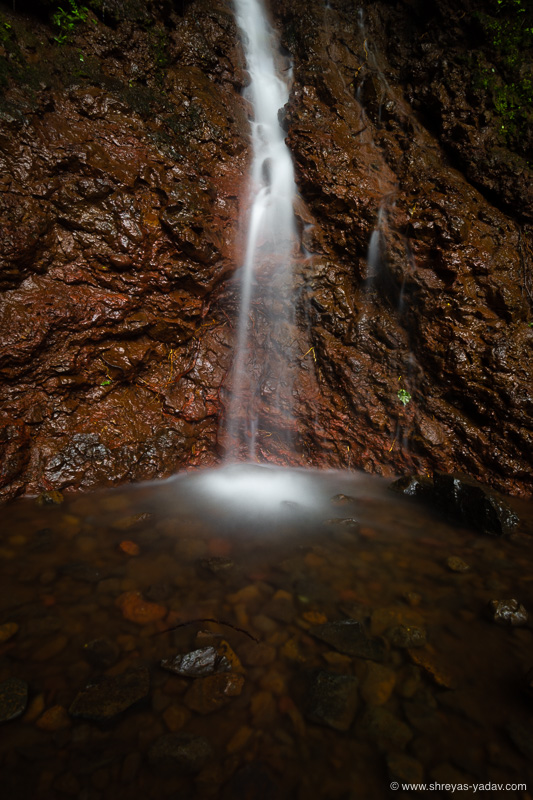
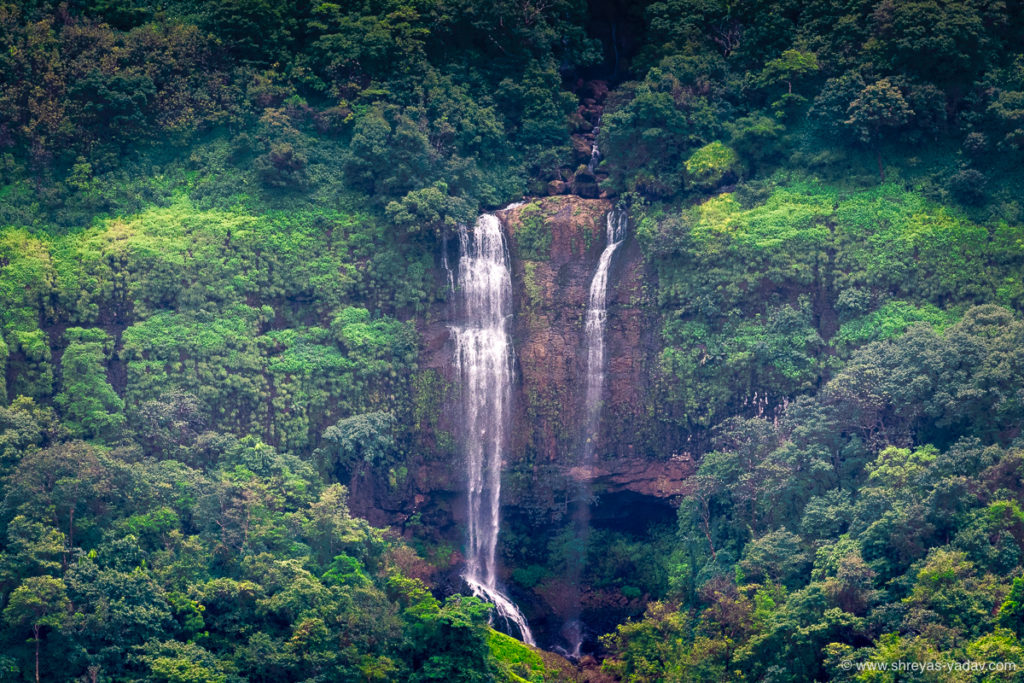
For photographing complete waterfall along with surrounding plants, sky and rocks use the wide-angle perspective. Use a wide-angle lens.
For photographing small parts of the waterfall , such as a waterfall and plant or waterfall and rock use zoom lens and close up perspective.
Zoom and wide-angle lenses can be used to create wide-angle and close shots of the waterfall. It depends on the size of the waterfall, your distance from the waterfall and your position with respect to the waterfall.
Simplify – Avoid the distraction
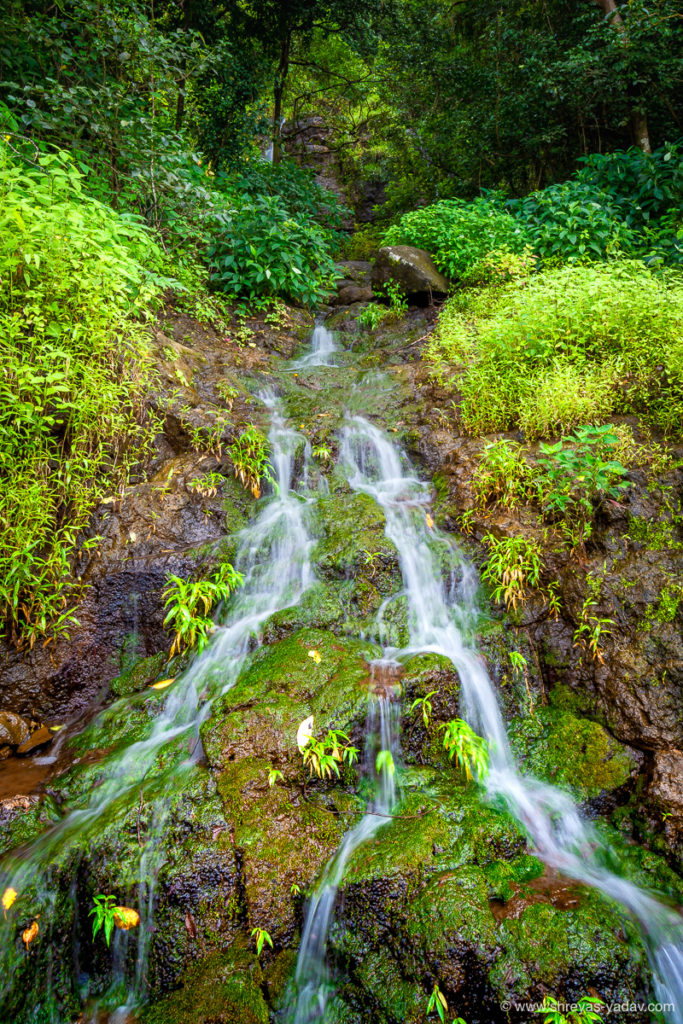
While you are composing an image of a waterfall, there will be elements in the frame that are not supporting the image composition. Those elements can be electricity poles, wires, cars, people and any artificial objects. These elements are distractions. Distractions will make the composition weak.
You should exclude the distraction and simplify the image.
For avoiding electricity poles, wires and artificial objects exclude them while composing the image.
Try to visit a waterfall in the early morning or weekdays when there are few people and cars.
Leading line of the waterfall
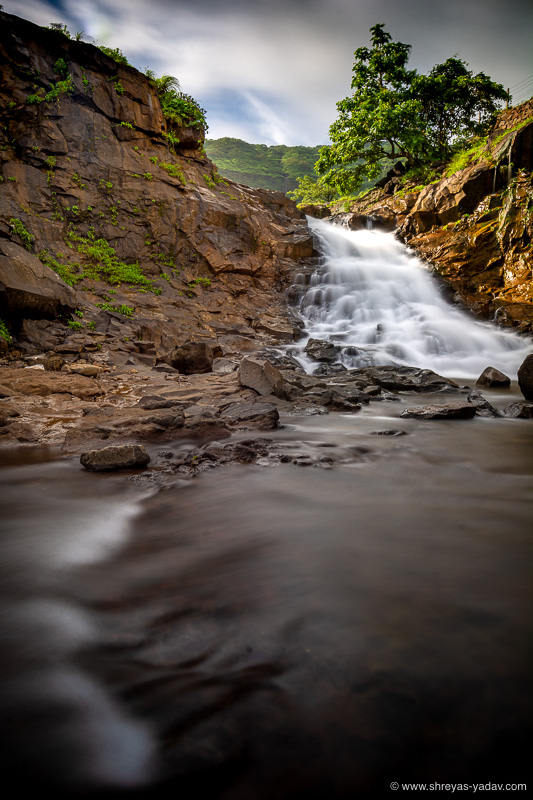
In your image, try to make a waterfall as a leading line. It can be such that either viewer should be directed from where the waterfall originates or where the waterfall flows.
If the origin of the waterfall is compelling, include leading line towards the origin. On the other hand, the flow of the waterfall is beautiful, then include the end of the waterfall.
Waterflow leading lines can be diagonal in an image or they can be vertical. Some time water flow can be reversed if the water is flowing over the cliff.
Include object along with a waterfall
In order to make the waterfall image interesting, include the supportive object. It means that the waterfall is your primary object, and the second object should make the picture interesting.
Smooth flow of water is one part of an image. A steady rock or colorful flower is the second object in an image.
Include objects in the foreground, such as tree leaves, window, or house. It will create a beautiful perspective.
Include small-sized objects to show the relative size of the waterfall.
In summary, follow three composition techniques as below
- Include secondary object next to the waterfall
- Include a secondary object in the waterfall
- Include a small object along with the waterfall to show the relative size
6. Post-process the image for fine-tuning the tonality and colors
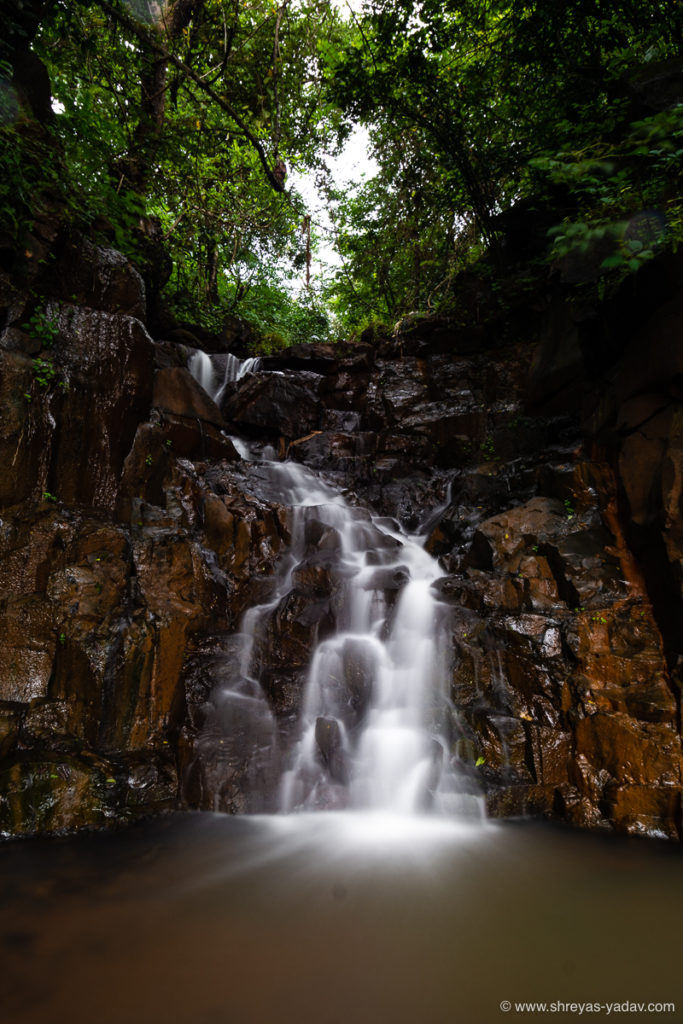
Once you have photographed waterfall image as mentioned in the above steps, it is time to post-process the image.
Remember, post-processing is fine-tuning of an image to improve its tonality and colors.
I do use Adobe Lightroom or Adobe Photoshop for post-processing an image. You can use any image editing tool. Irrespective of the image editing tool follow the below-mentioned strategies to post-process an image.
First, apply
Global or Overall adjustments
And then
Local or targeted adjustments
Let’s look into each adjustment
Global or overall adjustments
In Global adjustments, you apply the image adjustment to a complete image.
In Global adjustment, you fix the overall colors and tonality of the image.
Here are the specific global adjustment which I recommend
- White balance and tint correction
- Setting up the white and black point
- Highlights and shadows
- Vibrance and saturation
- Hue, Saturation, and Luminosity ( HSL ) adjustments
Here are steps on how to apply the Global corrections
How I reduced my post processing time 300 %
7 Step strategy to get accurate colors in your images
Targeted adjustments
In an image, there are specific areas where you need to make corrections.
These corrections are required only in specific areas and not in a whole image. These tonal or color adjustments are known as Targeted adjustments.
In waterfall image, targeted adjustments needs to applied on
- Flow of water
- Surrounding of the waterfall – such as rocks and plants
- Sky – If sky is included in an image
Specifically targeted adjustments on the waterfall images are
- Temperature and tint adjustment
- Setting up the white and black point
- Saturation, dehaze and clarity
- Sharpness
Here are detailed steps on how to apply targeted adjustments using Adobe Lightroom
Range Mask revealed : Definitive guide on Targeted Adjustment
Now it’s your turn
I hope these photography techniques will help you to create beautiful waterfall images.
Now I would like to hear from you
Which of the techniques from today’s post you are going to try first?
Or do you have a question about the techniques in this post?
Let me know by leaving a comment below right now
EXPLORE. PHOTOGRAPH. INSPIRE
JOIN OUR NEWSLETTER AND GET THE BEST ARTICLES ABOUT DIGITAL POST-PROCESSING AND PHOTOGRAPHY TECHNIQUES. NO CHARGE. NO SPAM. ONLY LOVE.
Thank you so much for such a wonderful information and beautiful pictures…
Your posts always keeps me inspired.
Hello Pranjal,
Thank you, I am glad to know this information is helping you.
Thanks
Shreyas