Here is a step-by-step guide to creating beautiful Panorama images using Adobe Lightroom
The steps described in the article will help you to photograph images for Panorama. It will also help you to merge the images in Adobe Lightroom.

Want to create beautiful Panoramic Images ? or Do you want to create Panorama images with your available lenses?
Then you are in the right place. Because in this step-by-step guide, you will learn How to create beautiful Panorama images.
Steps described in the article will help you to photograph images for creating Panorama. It will also help you to merge those images in Adobe Lightroom.
So, Let’s dive right in.
Here are the steps you will learn in this post –
1. How to photograph images for creating Panorama
2. How to merge images in Adobe Lightroom
The first step is to photograph multiple sets of frames covering the Panorama.
The second step is merging the multiple images in Adobe Lightroom to create a Panorama.
Let’s start with the first step.
1. How to photograph images for creating Panorama
- For creating Panorama, start with photographing at least 3 frames.
- You can photograph multiple frames. However, I recommend photographing at least 3 frames.
- Mount your camera / Lens on the steady Tripod. For the best results, I recommend using a Tripod. If you cannot use a Tripod or Monopod, make sure you hold your camera steady.
- The first step is to plan your Panorama image. Panorama does not mean you have to include what you see. Include the elements in the picture which support the composition. Exclude the image elements, which can cause distraction.
- Adjust desired exposure. You can use a live view as well. Make sure you have consistent exposure across all the frames.
- In the example image, I decided to include a hut as the main element. The primary focus is on the small Hut. Mountains are included in the image to give grandness to the landscape.
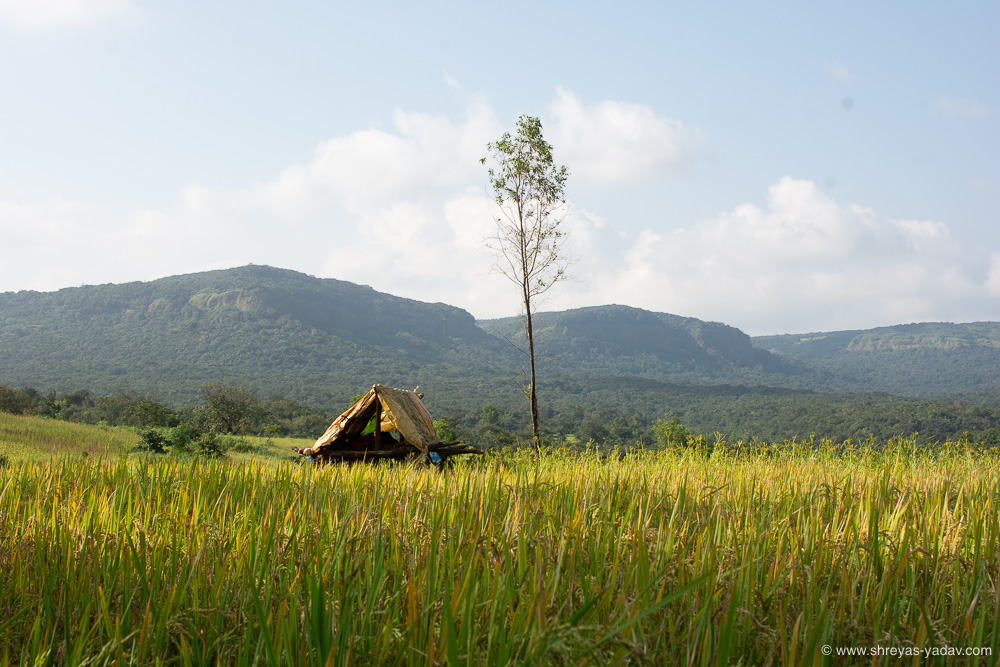
- Initially, with a basic Panorama image in mind, start clicking the first frame from the left scene. Here in this image, I have photographed the Hut on the left of the scene.
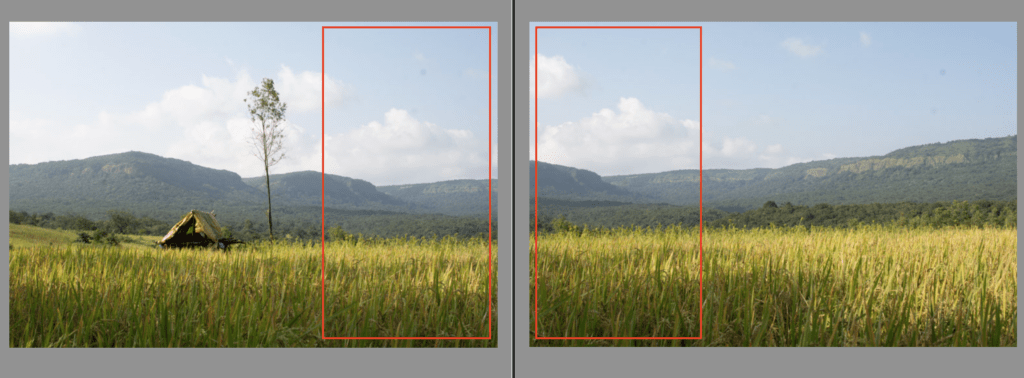
- Move your camera horizontally towards the right. Photograph the second frame. Make sure some of the elements in the first frame and second frame should overlap with each other. Refer to the below image. I tried to overlap the right part of the first frame and the second frame. If you are using a tripod, it is easy and convenient.
- Similarly, move your camera towards the right and photograph the third frame.
- Here is an example image. I have photographed 3 frames of Beautiful landscape. In the first image, you can notice the Hut and tree. In the second and third images, mountains and grasslands are included.
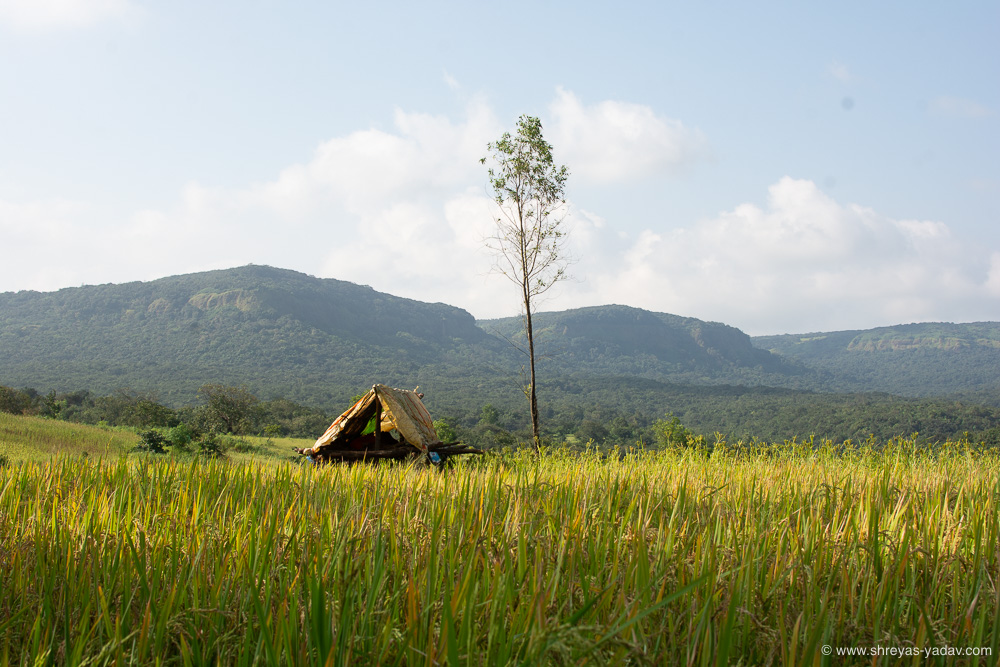
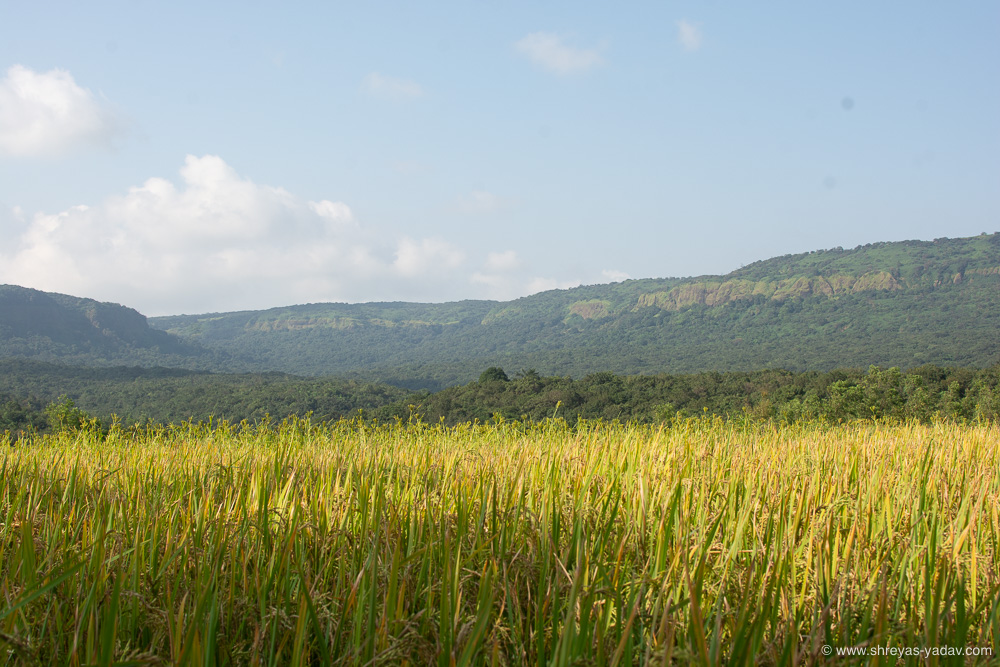
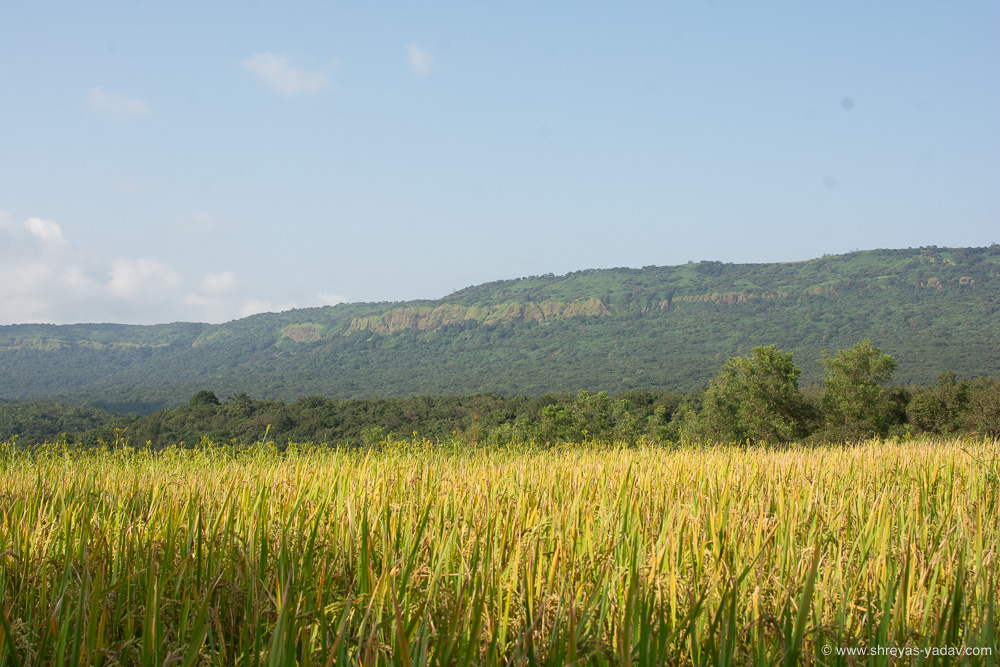
Images are photographed with Nikon D7100, Nikon 35 f/1.8 Lens, and a Tripod.
As we have 3 frames ready now, it’s time to merge the images in Adobe Lightroom.
Let’s learn How to merge images and create a beautiful Panorama in Adobe Lightroom.
2. How to merge images in Adobe Lightroom
- Open an Adobe Lightroom, Import the multiple frames which you have photographed.
Checkout a Beginner’s Guide for importing images in Adobe Lightroom
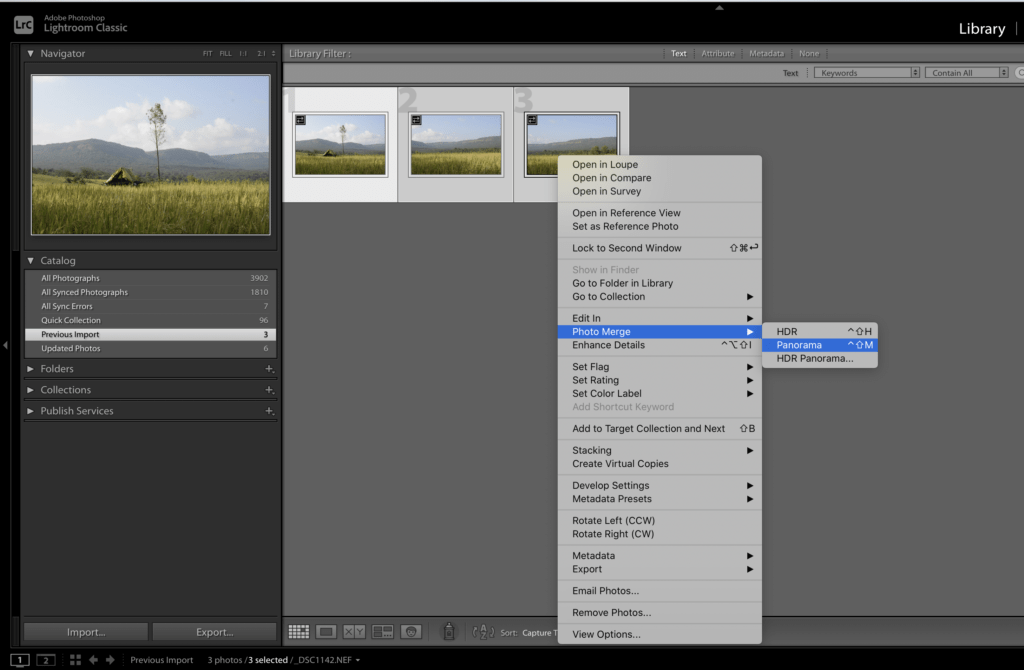
- Select the multiple frames and Right-click > Photo > Photo Merge > Panorama.
- Panorama Merge Preview will open up.
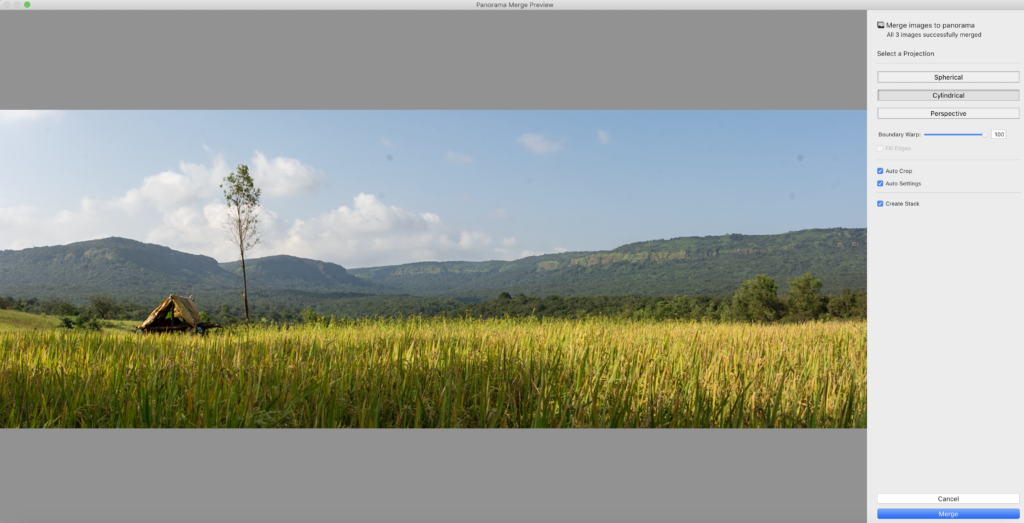
- Select a projection. I have selected a cylindrical projection. Check with spherical and perspective as well. However, for landscape images, I find a Cylindrical projection suitable.
- Select the Auto Crop option.
- Check the Create Stack box on. With the Create Stack option enabled, you can have a merged image along with individual frames.
- Use the slider Boundary Warp and see the effect of Boundary Warp. I have selected 100 % for this image. Boundary Warp option will help to preserve the details in the merged image at the corners.
- Click on Merge
- Lightroom will take a few seconds to merge those images and create Panorama.

- Lightroom will merge the frames.
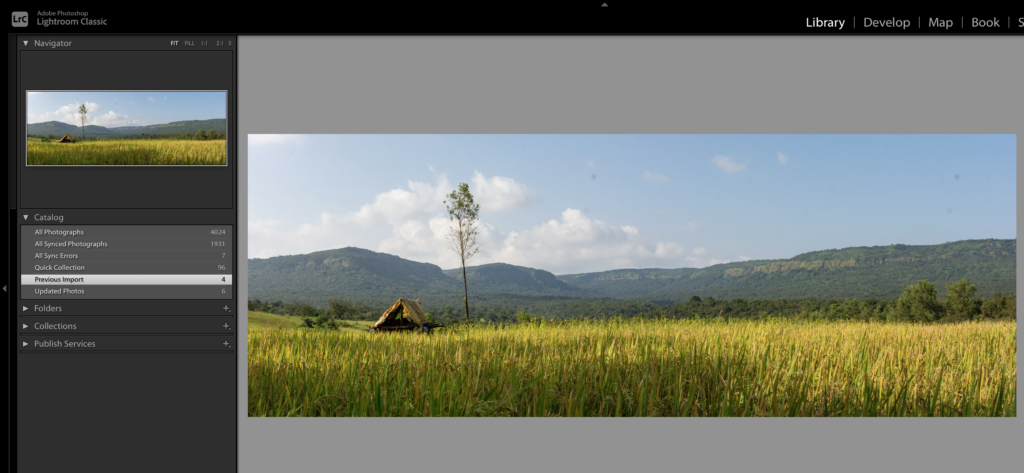
- Now you can edit the merged panorama image in Adobe Lightroom or Photoshop. I have used Adobe Lightroom to post-process the image.
- Mainly I have used tools such as spot removal, black and white points, Vibrance, Distortion correction, Curves, and targeted adjustments for Sky, farm, and Hut.
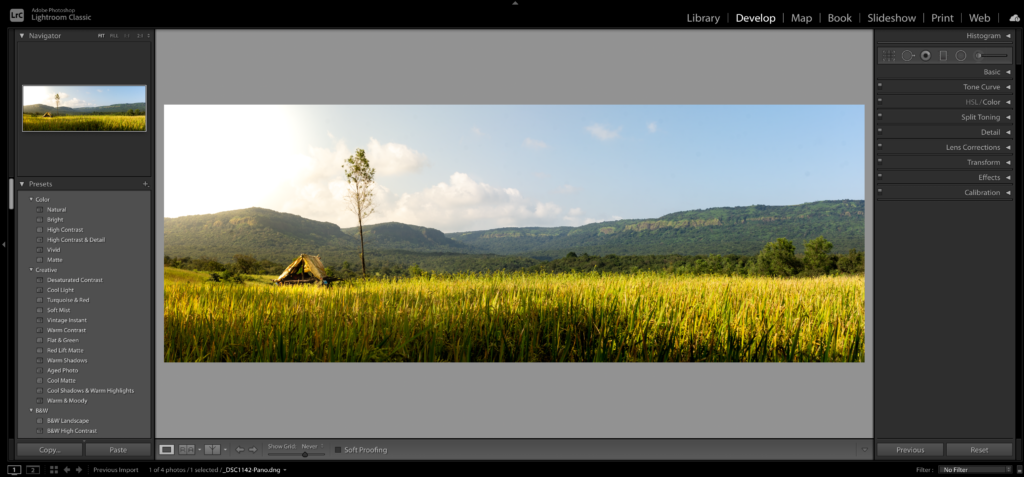
Here is a Step-by-Step guide on Post Processing an Image using Adobe Lightroom
Ultimate guide on Targeted adjustments using Adobe Lightroom
Here is the final image. Notice how 3 frames are merged to create a beautiful Panorama image
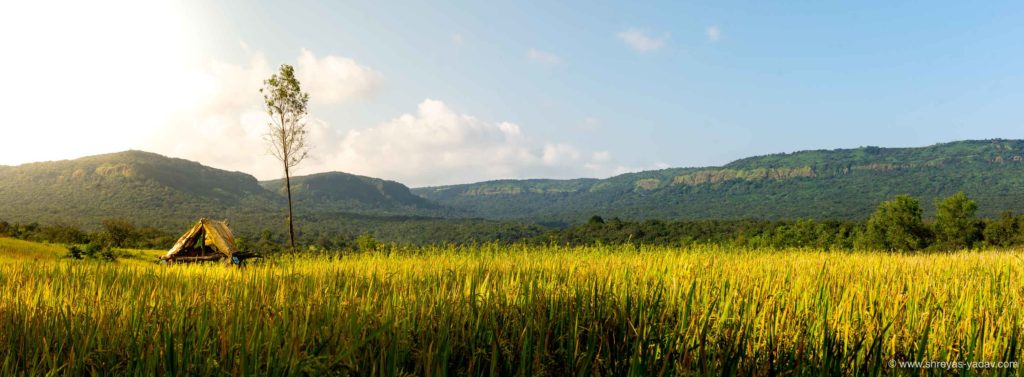
The Panorama option in Adobe Lightroom will help you to create beautiful Panoramic Images. You will find this technique helpful mainly in Landscape Images.
Note – Steps mentioned above will help you to get started with Panorama images. However, feel free to explore panorama images vertically. Also, you can photograph panorama images with multiple exposures ( HDR Panorama ). Well..we will discuss those techniques in another article!
Now it’s your turn!
How do you create Panorama images or Any thoughts on this article?
Either Way, Let me know by leaving the comment below right now.
EXPLORE. PHOTOGRAPH. INSPIRE
JOIN OUR NEWSLETTER AND GET THE BEST ARTICLES ABOUT DIGITAL POST-PROCESSING AND PHOTOGRAPHY TECHNIQUES. NO CHARGE. NO SPAM. ONLY LOVE.
Very informative article indeed. You have covered all the details in creating a panorama. Thanks for sharing this with us..
Regards