Nikon Coolpix P1000: Best Bridge Camera for Bird Photography. Here is a field review of the Nikon Coolpix P1000 from the perspective of Bird photography. A review will help readers to know about the versatility, controls, ergonomics, specification, and qualities of a Camera for Bird Photography. It will also include sample images, settings for Bird photography, and final recommendations
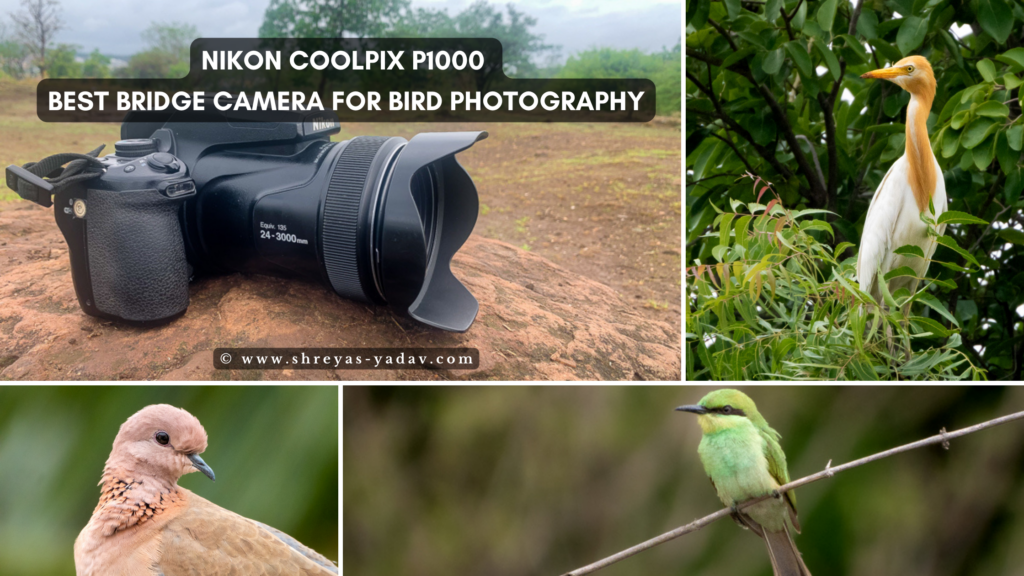
Bird Photography is an exciting genre of Photography. What makes bird photography easy ( Compared to Wildlife photography ! ) is that – you will find birds almost everywhere. Look out the trees, water bodies, grasslands, and lakes around you – you will find beautiful birds. You can start bird photography from local parks, forest areas, and wetlands. Eventually, you can go to Bird sanctuaries and National Park for Bird Photography.
Imagine you are looking out for birds thru your binoculars, and you will see – A Parakeet feeding on the fruits, a Munia bird picking grass to build a nest, an eagle who is staring at you, or a waterbird picking up fish and flying in front of you.
These are some of the moments we as Bird Photographers cherish for a Lifetime.
For Photographing these beautiful moments, you will need a Camera that is easy to use, has a longer zoom, and Lightweight body ( And comes at a reasonable price as compared to a Long telephoto lens used for bird photography )
Nikon created a Best Bridge Camera for Bird Photography- Nikon Coolpix P1000. Nikon Coolpix P1000 has a Nice image and video quality in good light conditions. Nikon Coolpix P1000 has a longer zoom range. The flexible zoom range, Good image quality, and budget price of the Nikon Coolpix P1000 make it the best practical camera for Bird Photography.

Nikon Coolpix P1000 camera weighs around 1415 g (3.1 lb) including battery and SD memory card. Nikon Coolpix P1000 comes with a Built-in 125x optical zoom lens ( 24-3000 mm: 35 mm equivalent ). Lens aperture goes from f/2.8 ( W) up to f/8 (T).
Nikon P1000 camera has a sensor size of 1/ 2.3 in with around 16.7 MP resolution.
The minimum ISO is 100 and the maximum ISO is 6400. A lightweight camera body, adjustable touch screen, accurate focus, 4k video capability, and Inbuild 24-3000 mm (35mm equivalent ) lens make the Nikon Coolpix P1000 the best Bridge camera for Birding ( and for Wildlife ) photography and videography.

Nikon Coolpix P1000 Specifications
- Sensor – 1/ 2.3 in with a 16.7 MP resolution.
- ISO – ISO 100 to ISO 6400
- AF Modes – Single-shot AF, Automatic AF, Continuous AF, Manual Focus
- AF Area Modes – Face Priority, Subject Tracking, Normal, Spot, and Wide
- Power and Charger – Rechargeable Li-Ion Battery EN-EL20a and AC Adapter EH-5b/EH-5C
- Storage cards – SD, SDHC, SDXC. I use SD Card for Nikon Coolpix P1000
- Dimensions and weight – Approximate weight of the body including the Battery and card is 1415 g (3.1 lb) and the dimensions are ( Length X Height X Width ) 146.3 x 118.8 x 181.3 mm
- Shutter speed range – Depending on the Camera exposure modes and setting shutter speed range is as follows: 30″–1/4000 ( Shutter speed can go from 30 s upto 1/4000 s ) Also 1″–1/4000 ( 1s to 1/4000 s ) ( Mechanical and Electronic Shutter )
- Metering modes – Spot, Center-Weighted, and Matrix
- Exposure mode – Manual ( M ), Aperture Priority ( A ), Shutter Priority ( S ), Programmed Auto ( P ), and some Auto exposures modes
- White Balance – Auto, Daylight, Cloudy, Incandescent, Flash, Fluorescent, Custom ( Set color temperature )
- Flash – Built-in Flash is available and compatible External Flash can be used
- Image format – JPEG, RAW/NRW (Nikon’s RAW format), Color Space: sRGB and Adobe RGB
- Lens compatibility – Built-in Nikkon lens with a Focal length of 4.3 – 539 mm ( 24-3000 mm on 35mm equivalent ) with an aperture of f/2.8(W) and f/8 (T).
- Price – Approximately $997 Check the current price on Amazon here
Controls and Ergonomics


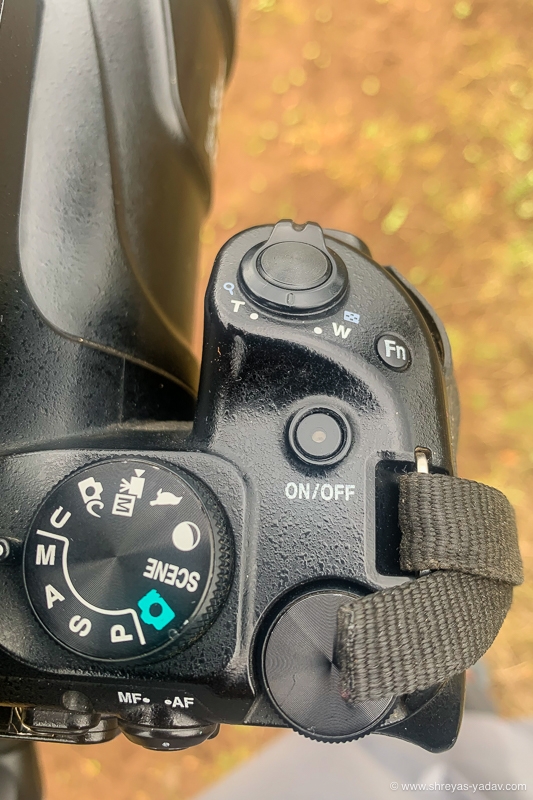
Controls
- Exposure selection mode – This dial helps to select the exposure modes Manual (M), Aperture Priority(A), Shutter Priority(S), and Programmed Auto (P) quickly.
- You can also select Auto mode, Scene, Movie, Moon, Bird, and a few custom options.
- Focus mode selection button – This camera button helps choose between focus modes as Automatic-AF and Manual – MF. This dial is at the back of the camera around AE-L/ AF- Button. Once you set the camera for AF mode, in the camera menu system you can select the required AF area modes.
- At the back of the camera, there is a Button for AE-L / AF-L (Exposure and Focus Lock)
- You can change the White Balance and ISO by getting into Camera Menu.
- You can Zoom in – out the lens using a Zoom ring on a lens or using a dial on the Top of the camera.
- You can manually focus the camera using the Manual focus ring on the lens.
- Overall the Camera Menu system is easy to understand and easy to use. If you are already a Nikon user you will find the easy. If you are coming from some other brands or using a camera for the first time – just explore the Camera menu system for 2 to 3 days and you will get used to it.
Build Quality
- The weight and size of the Nikon Coolpix P1000 are decent for all-day shooting. The size of the Nikon Coolpix P1000 is perfect while you are Hiking or traveling in a Safari vehicle ( Because of the long zoom range of the camera – Nikon Coolpix P1000 is bigger and heavy as compared to other compact cameras such as SonyRX10 IV and Lumix FZ300 )
- The build quality is Decent. Nikon Coolpix P1000 can take up minor beatings in the Wilderness. While the camera is zoomed in to 3000mm – at that time it feels slightly delicate because of protruding lens elements.
- Dust and water splash. Protection against dust and water splash is ok but not great.
- I have used the camera on rainy days and in dusty weather. Its performance is satisfactory.
- In fact, I clean the camera after photoshoots in the rain or heavy dust; I recommend you do so.
- While I am not photographing during Safari or birding sessions – I will cover the camera with a cotton cloth / plastic bag to protect it against Dust and rain. This technique will help to keep your camera clean.
Ergonomics ( and Handling )
- Ergonomically Nikon Coolpix P1000 feels Good. Major dials and buttons for Wildlife and Bird photography are conveniently placed on the camera. But, when you start initially using the camera there is some learning curve to understand the command dials and buttons.
- You can hand-hold the camera during Safari or birding sessions for 2 to 3 hours. Nikon Coolpix P1000 gives more opportunities and freedom to photograph and capture videos of Birds and Wildlife.
Nikon Coolpix P1000 Camera Performance from the Perspective of a Bird Photography
Autofocus performance
Here is how Nikon Coolpix P1000 autofocus performs at 539 mm ( 3000 mm – 35 mm equivalent ) where you will be using it the most for Bird Photography.
Nikon Coolpix P1000 is capable of focusing accurately on stationary and slow-moving objects. ( Make sure to select the appropriate focus mode and focus area mode).
For fast-moving objects the camera struggles to acquire a focus mainly because the subject will be moving in and out of the frame ( at 3000 mm ) and the lens aperture goes up to f/8 – not a friendly aperture for the AF sensor.
The Nikon Coolpix P1000 acquires focus accurately if the Light is Good. Also if there are no distractions between the camera and the object ( Such as trees and grass).
There are multiple focusing modes available however I find focusing modes: Single or Continuous with a wide focus area useful.
Nikon Coolpix P1000 focuses accurately on the following conditions
- Daylight
- Stationary or Slow moving objects
- Rainy and Dusty weather with Good light
I Recommend using Manual Focus Override in the below situations
- Low light
- In the forest clutter and Forest canopy ( I Recommend using Manual Focus Override )
- Distant Object and a Low light condition
- Smaller birds at a relatively long distance
For the lens zoom range less than 1000 mm or 2000mm, where the lens aperture is between f/2.8 to f/5.6 – AF performance is better as compared to the lens at 3000 mm focal length.
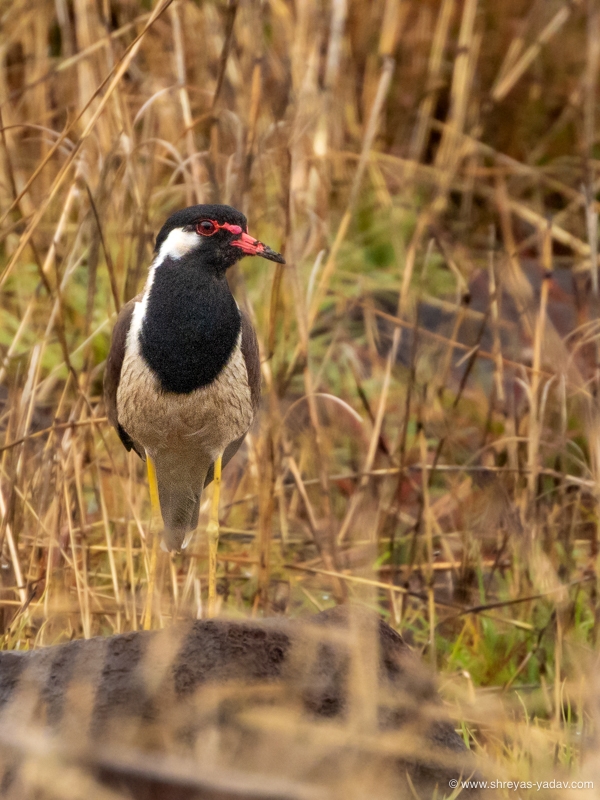
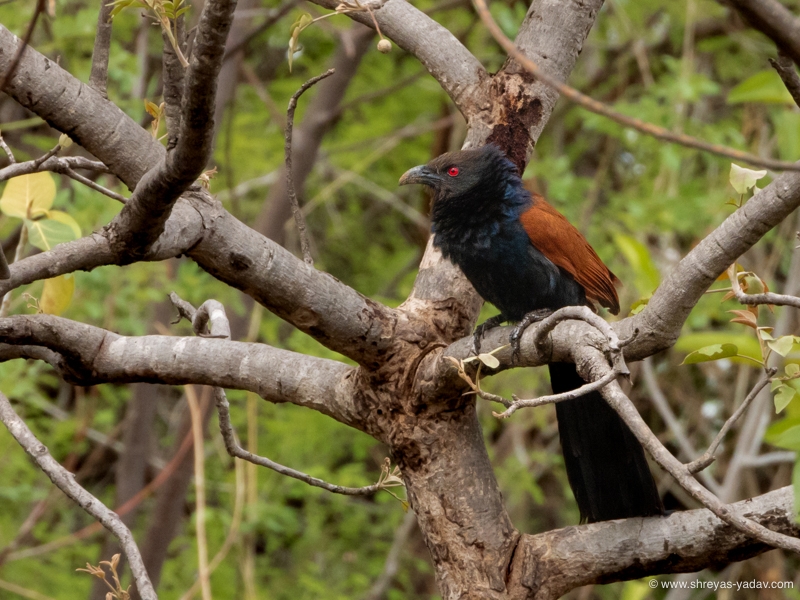
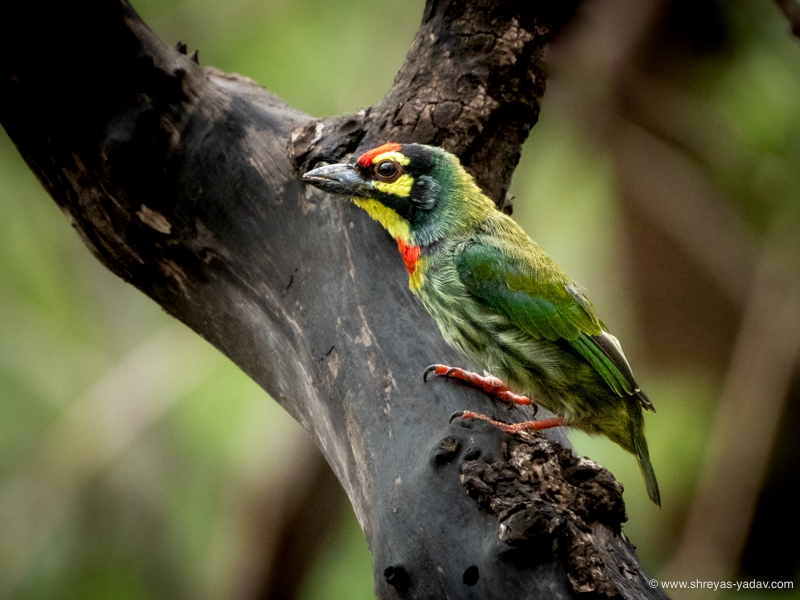
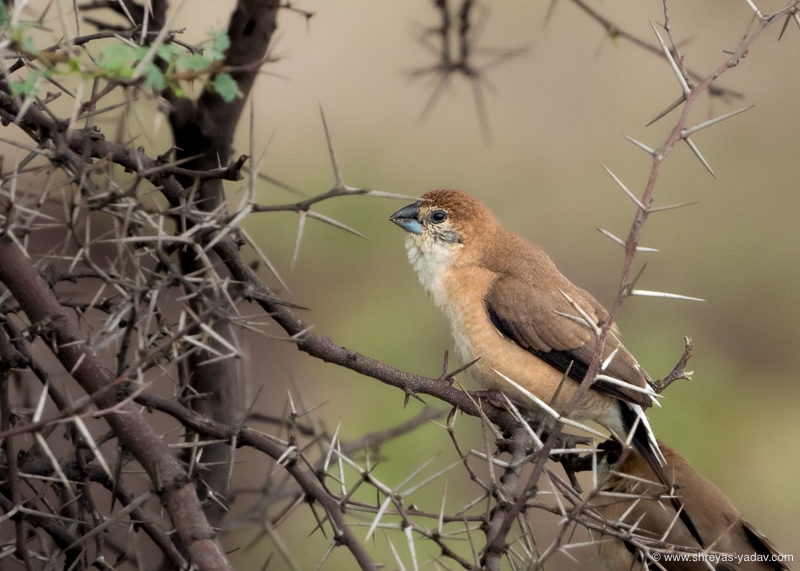
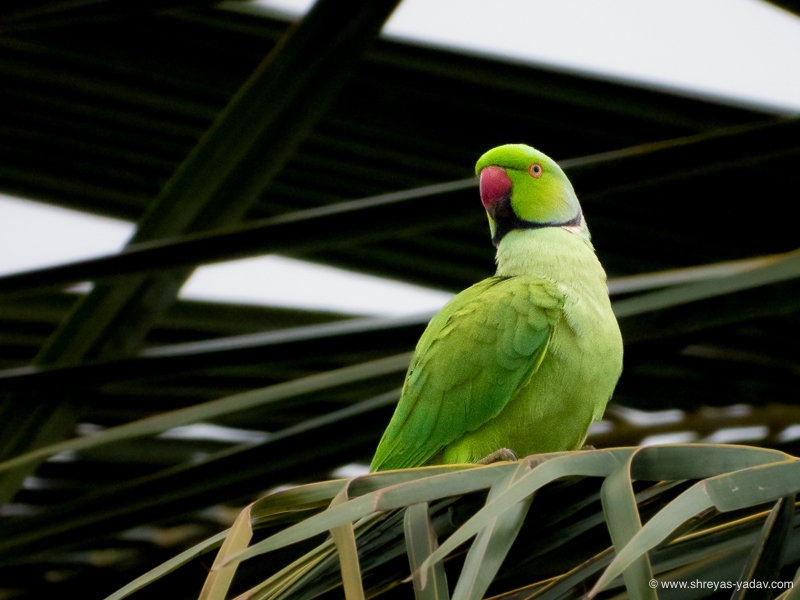
Similarly, the autofocus is consistent and responsive while you are recording a video. The Autofocus of the Nikon Coolpix P1000 helps to record sharp videos of Wildlife and Birds. ( In good light conditions)
High ISO and Low Light Performance
An Image sensor size of 1/ 2.3 in has certain limitations while dealing with High ISO.
You will start seeing the Image noise and deterioration in image quality as you crank up the ISO beyond ISO 800.
As per my experience in the outdoors, If light conditions are excellent then I can get Good colors and details up to ISO 800.
Under Low light conditions, I keep the ISO in between ISO 100 to ISO 400 for best results.
And if the Light conditions are very poor ( Early morning, Late evening, and cloudy days ) I keep the ISO 100 ( Minimum ) to get a usable Shot.
The bottom line is to try to keep the ISO below 800 in Excellent light conditions and keep the ISO below 400 in low light conditions for Decent image details and Colors.
A watch out here -With high ISO and Noisy images, I do not get the usable image using post-processing as well. Hence Try to keep the ISO as low as possible to get good image quality.
Note – If I know that I am going to encounter a rare moment in the wild then I crank up the ISO in between 800 to 1600. At this time I am ready to sacrifice the image quality in order to capture the Rare moment in the Wild. Hence Choose ISO as the Situation and Light conditions.
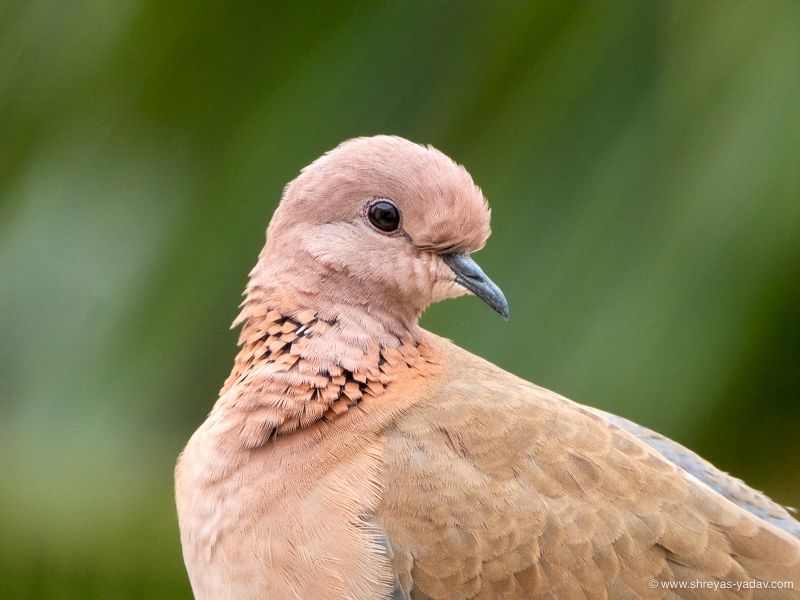
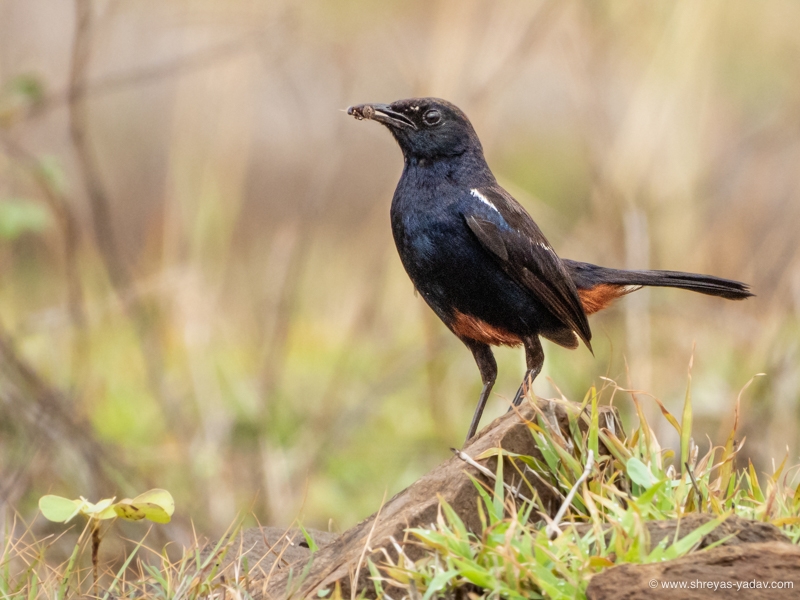
Here are some of the Images Captured at different ISO settings and varying light conditions.
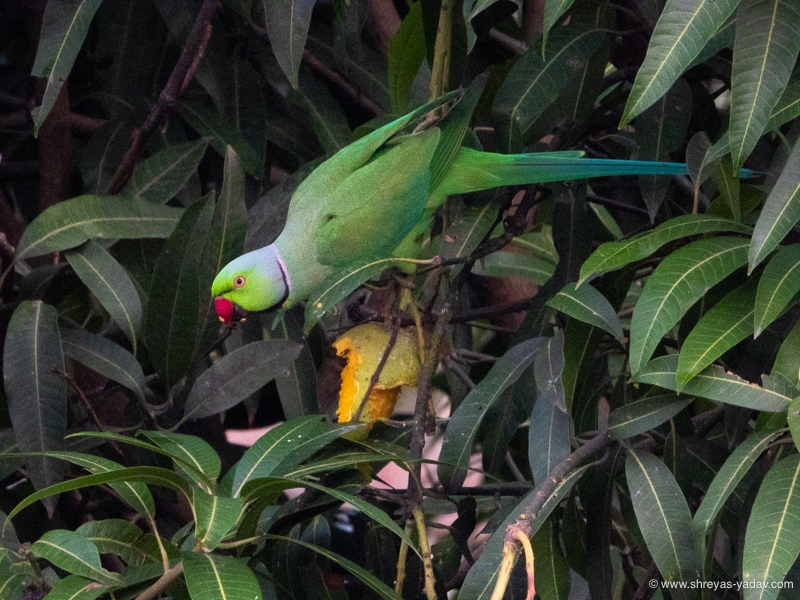
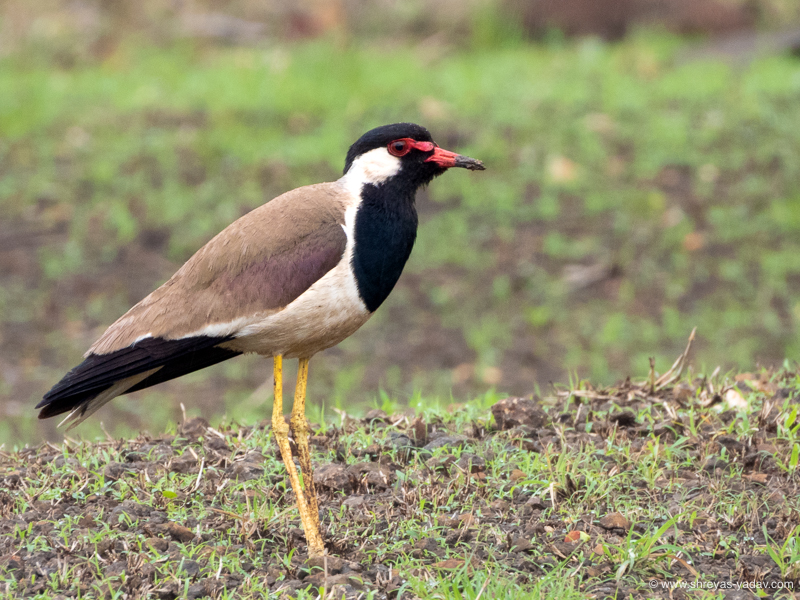
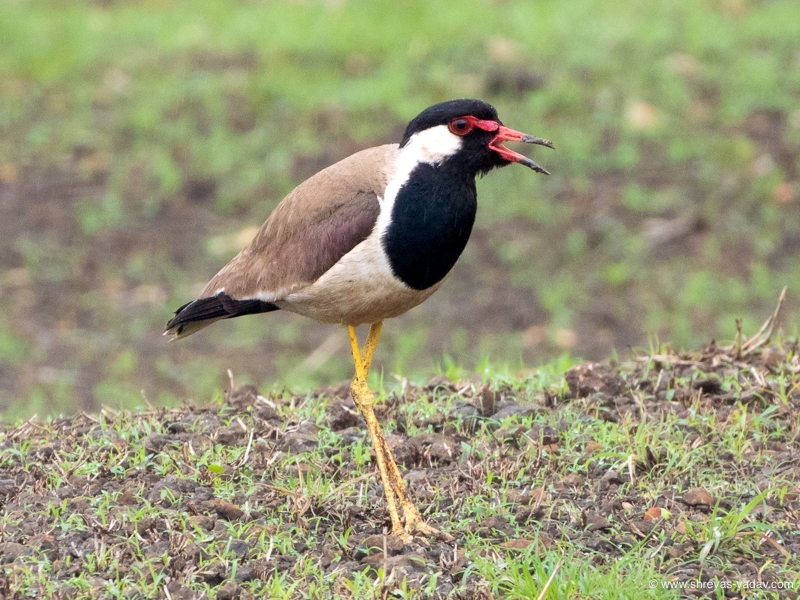
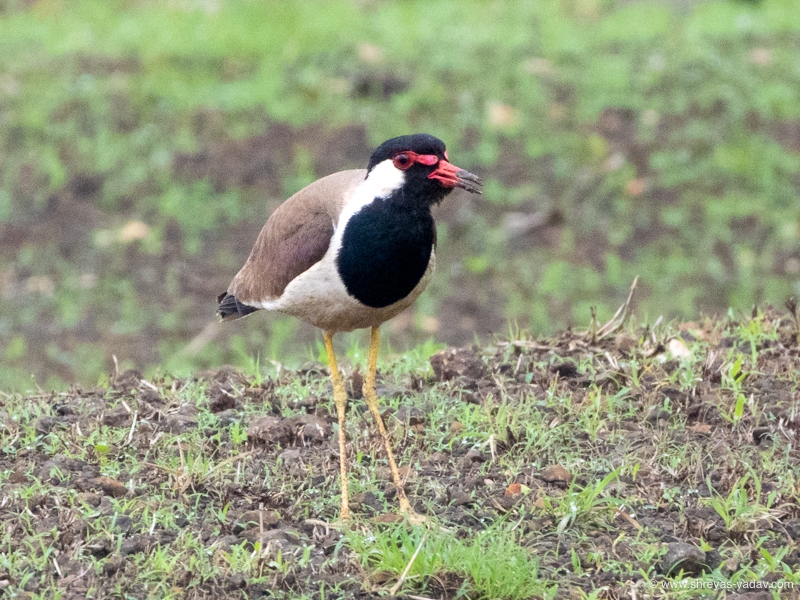
Image Quality- Colors, details, and Dynamic Range
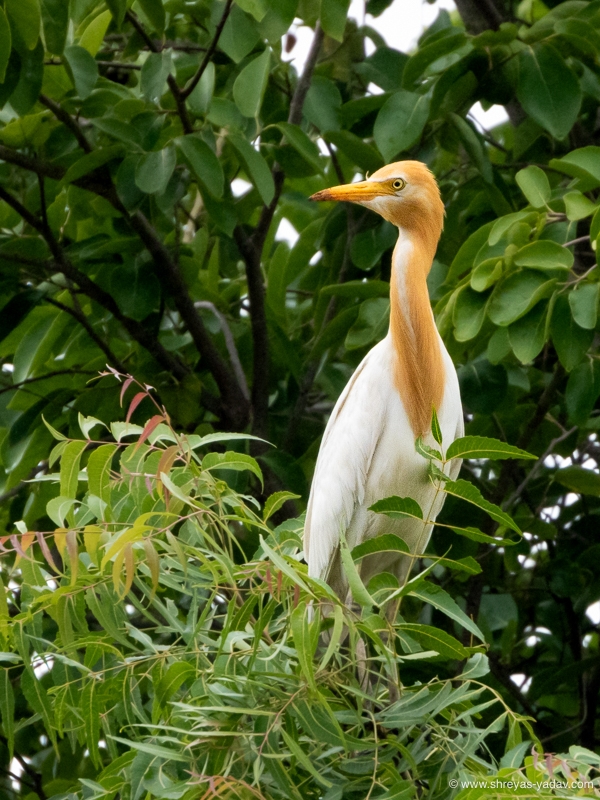
Image dynamic range with Nikon Coolpix P1000 is Good for Bird Images in Excellent Light condition.
As the light gets lower the image will start seeing its negative effect on the Dynamic range. Image quality will start deteriorating with lower light levels.
You can get good Colors and details with Nikon Coolpix P1000 in Excellent light conditions. Keep the ISO from ISO 100 to ISO 400, for perfect colors and details.
Whereas as you start going towards Higher ISO and Low Light conditions, the image quality and colors will start degrading.
For Bird images mostly I use Spot Metering. As long as you are maintaining reasonably correct exposure Nikon Coolpix P1000 produces accurate image exposures
If there are some tricky light situations such as Lights and Shadows, then I find the Spot meter produces better results in terms of exposure.
Based on shooting with Nikon Coolpix P1000 I can recommend that for most of the Situations in the Wild – try to Keep the ISO between 100 to 400, the Aperture between f/2.8 to f/5.6 ( If possible ), and the Shutter speed as per the image requirement/Light conditions.
Note – If you have to zoom in to 3000 mm, then the lens aperture would be f/8. Make sure you have sufficient light on the object.
Due to the longer lens zoom of 3000 mm( 35 mm equivalent ) and aperture of f/8 at 3000mm two important things to keep in mind while shooting the best quality images
- You need a steady support for shooting at a 3000 mm focal length
- f/8 is a small aperture and it can impact the image quality and autofocus performance
Hence make sure you use
- Steady support such as Tripod or Monopod for photographing birds
- The object should be in good light conditions. And try to use ISO in the range of ISO 100 to ISO 400. ( Cranking up the ISO beyond 800 will make reduce the image quality )
White Balance
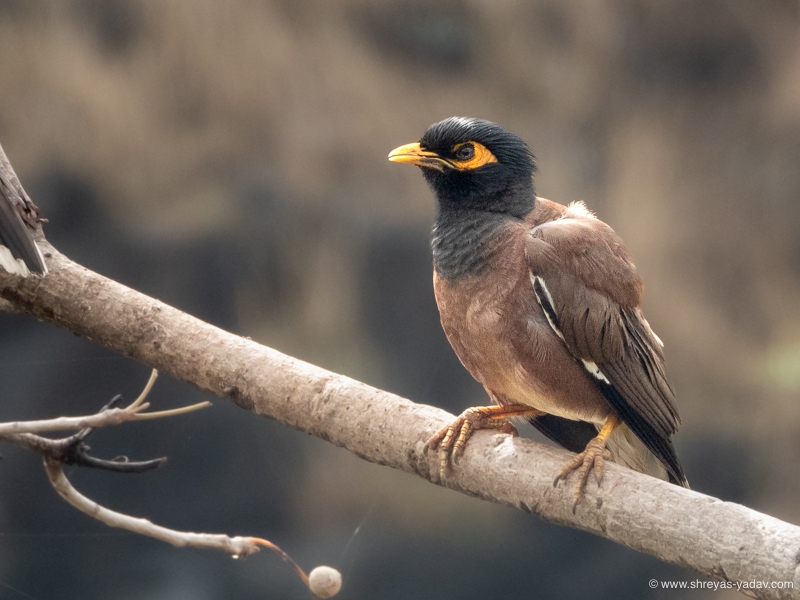
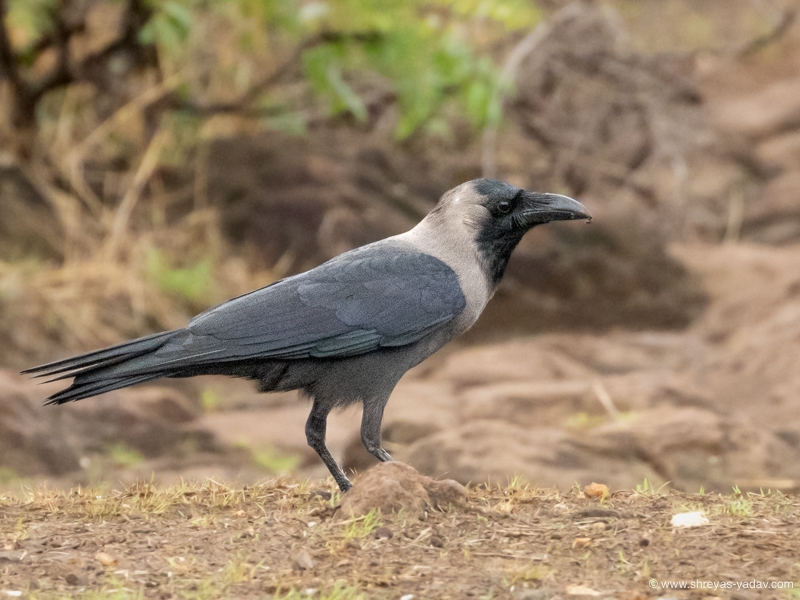
Nikon Coolpix P1000 produces a white balance close to the actual scene. The overall Color temperature looks good. Also, no major tint shift was observed
Auto white balance does a Good job while handling different light conditions.
For Bird photography and videos, I recommend you use Auto White balance.
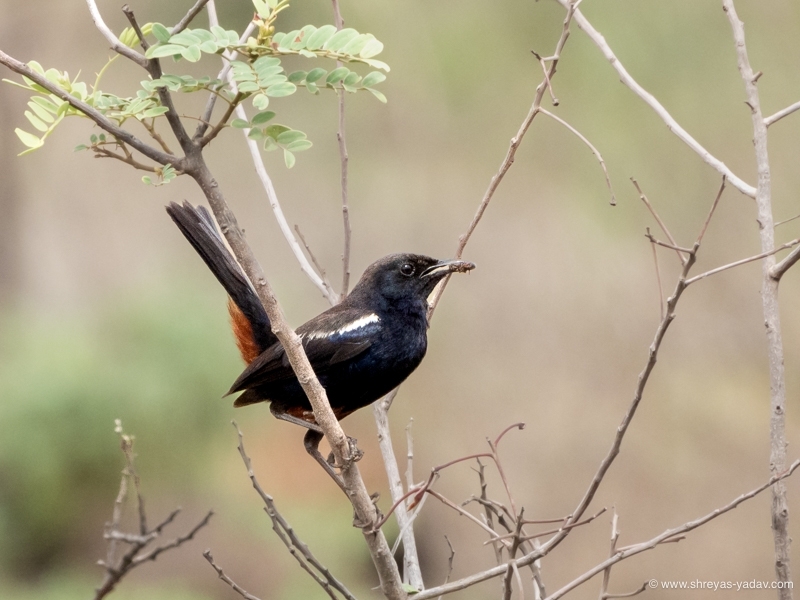
Adjustable Screen
An Adjustable screen is one of the advantages of the Nikon Coolpix P1000.
This type of screen is very convenient to get High level or Eye level images of birds and Wildlife.
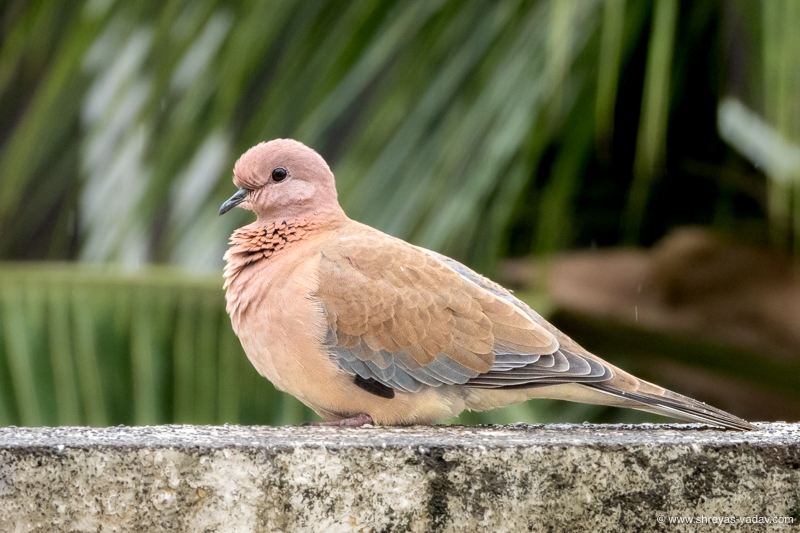
Versatile Zoom range with F/2.8 (W) and f/8(T) Aperture
Zoom range from 4.3 mm – 539 mm ( 24-3000 mm on 35mm equivalent ) is The top most reason, why you will love to buy Nikon Coolpix P1000.
That 3000mm zoom is awesome to get up close with birds. This superzoom gives you the ability to create some the beautiful shots of Birds at a distance ( without spending too much money on the DSLR/Mirrorless cameras along with big tele lenses )
The versatile zoom range of the Nikon Coolpix P1000 makes it perfect for Bird Photography, Wildlife Photography, and Travel Photography. You can almost photograph everything around you.


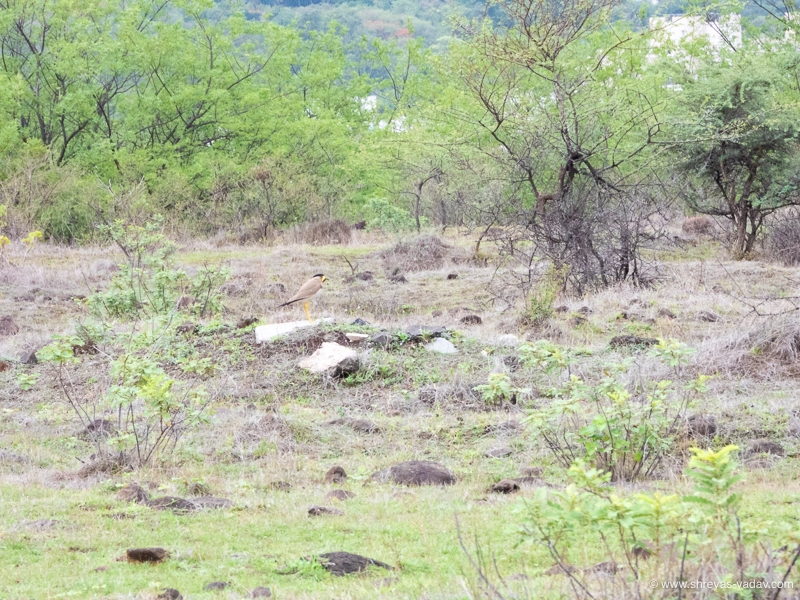
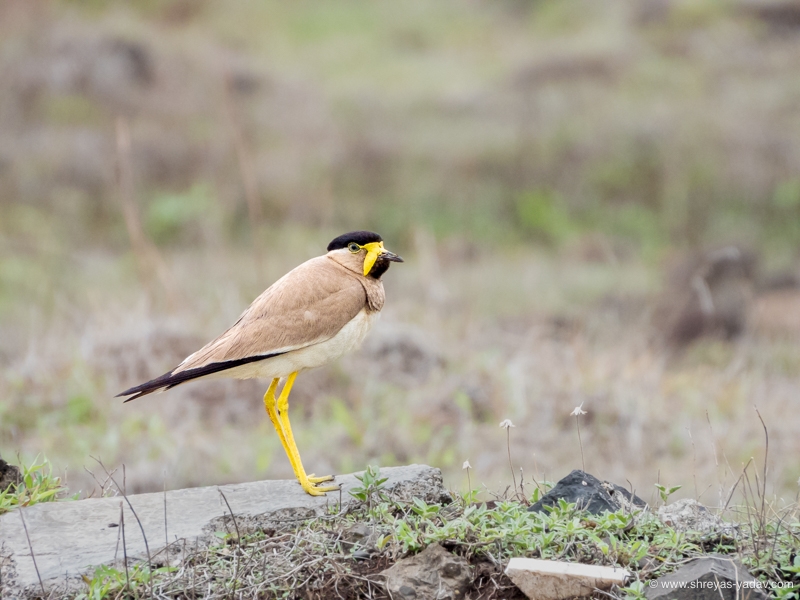
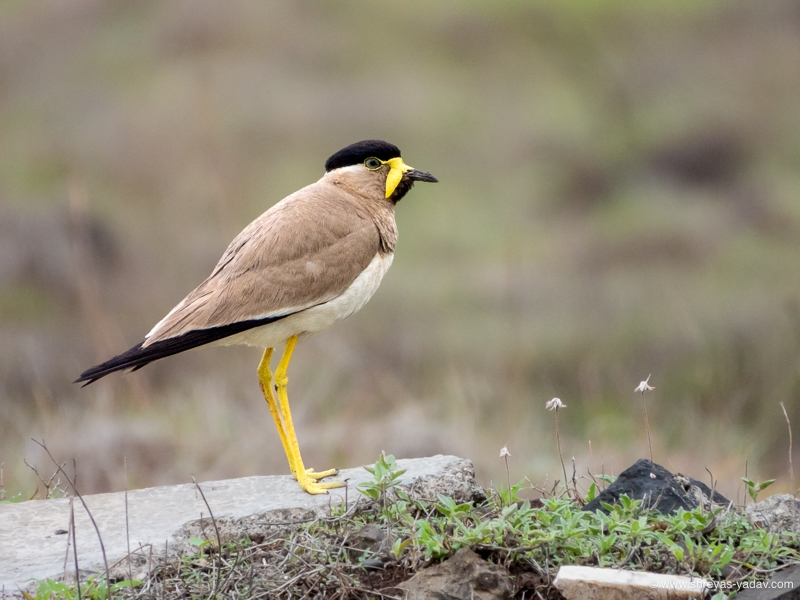
Nikon Coolpix P1000 simply provides you with more photographic opportunities.
Nikon Coolpix P1000 Sample Video
Bonus: My settings on Nikon Coolpix P1000 for Bird photography
Camera settings
- Image format: RAW + Jpeg Fine
- Color space: Adobe RGB
- ISO: Auto ISO with a Maximum ISO of 400, in some low light conditions I may extend it upto 800 ( It will depend on the lighting condition. But I find 400 is the right balance for Image quality and low noise )
- Autofocus mode: AF – S or AF-C ( Single Continuous ) or Manual depending on the Bird’s movement
- Autofocus Area mode: Wide Focus Area
- Metering: For Bird, I use Spot Metering most of the time. (Some time it is Matrix Metering )
- Exposure mode: Manual ( Shutter speed and Aperture will be set based on the light in Nature and It can vary ).
- The frame rate is set to continuous high
Nikon Coolpix P1000: Conclusion and Recommendations
Pros
- A versatile Zoom range of 24-3000 mm ( 35 mm equivalent )
- Easy-to-use camera body and menu system
- Excellent 4K Video capability
- Under Excellent light conditions, Beautiful colors, and Image quality
- Accurate focus
- Best Bridge camera for Birds, Wildlife, and Travel photography
- Best Budget Camera for Bird Photography
- If bird and wildlife photography is your hobby, and want a true value-for-money camera then Nikon Coolpix P1000 is for you. ( Mainly for Bird photography Nikon Coolpix P1000 is the best budget camera )
Cons
- Noise and loss of Image quality at Higher ISO and Low light conditions
- For best images – you will need steady support such as Tripod or Monopod at longer focal lengths such as 2000 mm, 3000 mm, etc
- The protection against dust and splash is ok but not great.
- Lens Zoom in/out operation is slightly slower. Since the lens physically moves in and out hence it takes some time to zoom from 24mm to 3000 mm.
- For distant objects and low light conditions, the camera takes a slight time to focus.
In summary –
The versatile zoom range, adjustable screen, accurate focus, 4k video capability, and Inbuild 24-3000 mm (35mm equivalent ) lens make the Nikon Coolpix P1000 the best Bridge camera for Birding ( and for Wildlife ) photography and videography.
If your love bird photography, Nikon Coolpix P1000 is an excellent camera at an affordable price ( As compared to the price of the DSLR/Mirrorless cameras and telephoto lenses )
It’s a good camera for wildlife photography as well.
You will find sheer joy to handle the Nikon Coolpix P1000 camera and shoot bird and Wildlife moments for a lifetime.
Nikon Coolpix P1000 on the Amazon
SanDisk 64GB Extreme PRO Card at Amazon
What do you think about the Nikon Coolpix P1000 camera, Please do let me know in the comments below.
Thanks for sharing your settings for bird photography! I bought a P1000 for a safari trip, and the zoom range was perfect for seeing details of birds and animals at a distance. I’m not a professional or serious amateur, and I know I wasn’t using the camera to its full potential. I’m going to try your settings next time I go out!
Hello, Glad you found this article helpful. Wish you all the best for next photography trip. Regards – Shreyas