This article is a step by step guide to creating stunning HDR images. This guide will help you to photograph and post-process High Dynamic Range images effectively.
In this post, I am going to tell you Secrets for Stunning HDR images.
This simple 3-step formula will help you to create beautiful High Dynamic Range (HDR) images.
Let’s dive right into it!
What is High Dynamic Range (HDR) Image?
HDR or High Dynamic Range is a photography technique in which wide range of luminosity or light tones is captured in an image.
Generally, this is achieved by photographing multiple images at different exposure values and merging them in Digital post-processing software.
Here are 3-steps to creating HDR images
- Photograph a scene using bracketing option
- Merge bracketed images in Adobe Lightroom
- Fine-tune the merged image using Adobe Lightroom
Step # 1: Photograph a scene using Bracketing option
On your DSLR or Mirrorless camera, turn ON the bracketing option.
In the Bracketing option
Select the number of frames as three
Select the exposure step as 0.7 or 1
For Nikon DSLR cameras, press the BKT button located below the flash button. While the BKT button is pressed using main and sub-command dial ( Dial used to set a shutter speed and aperture ) select the number of frames and exposure steps. For your specific camera refer the camera manual on how to set the camera for bracketing.
Now with bracketing mode option ON – you will photograph three frames.
- One frame will have nominal exposure. ( or the exposure which you set).
- The second image will be overexposed with exposure step of 1
- The third image will be underexposed with the exposure step of 1
Set shutter release mode to continuous High ( CH )
Set the exposure mode to Aperture priority. Set the aperture and ISO as per the scene.
Compose the image. Hold the camera steady. Preferably use stable support such as Tripod or monopod. If the use of support is not possible then hold the camera steady.
Press the shutter release button. Three images will be captured.
One image will be with nominal exposure.
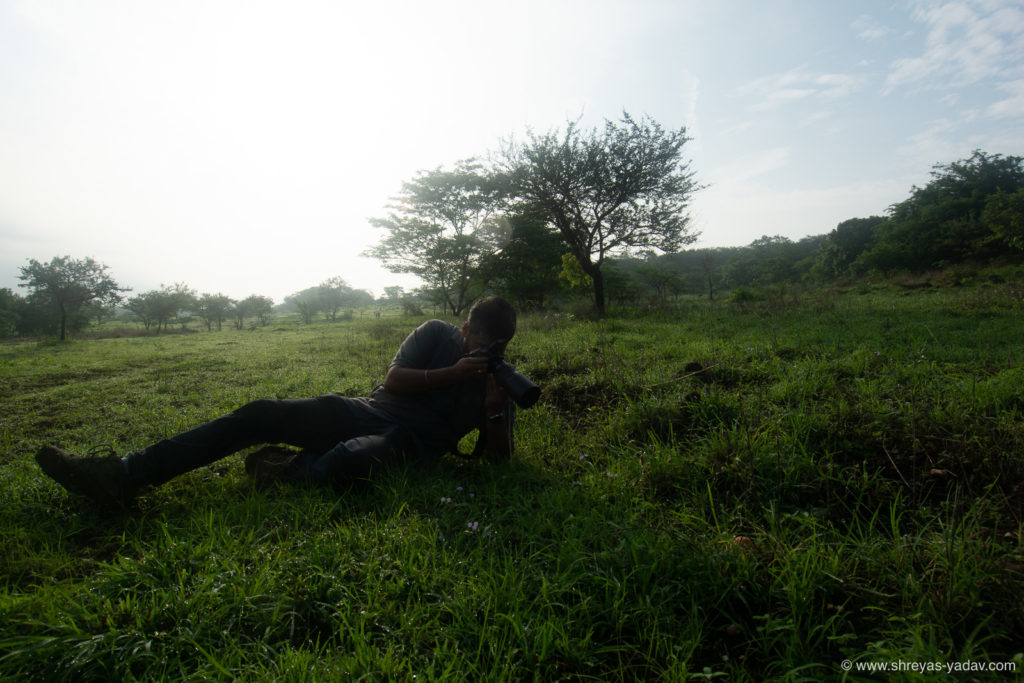
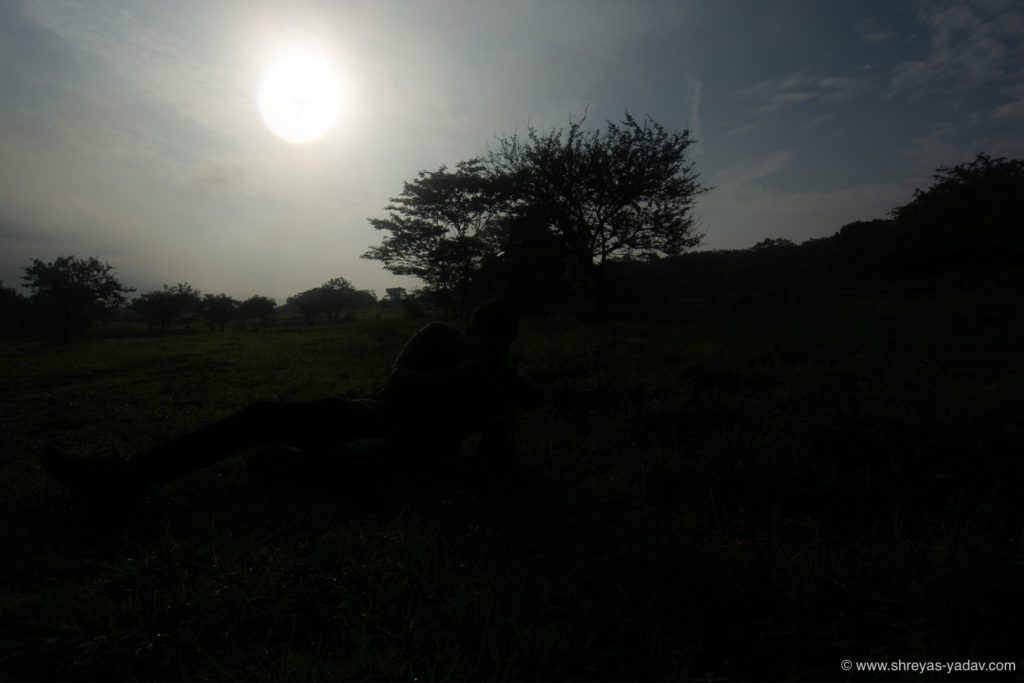
One image will be underexposed.
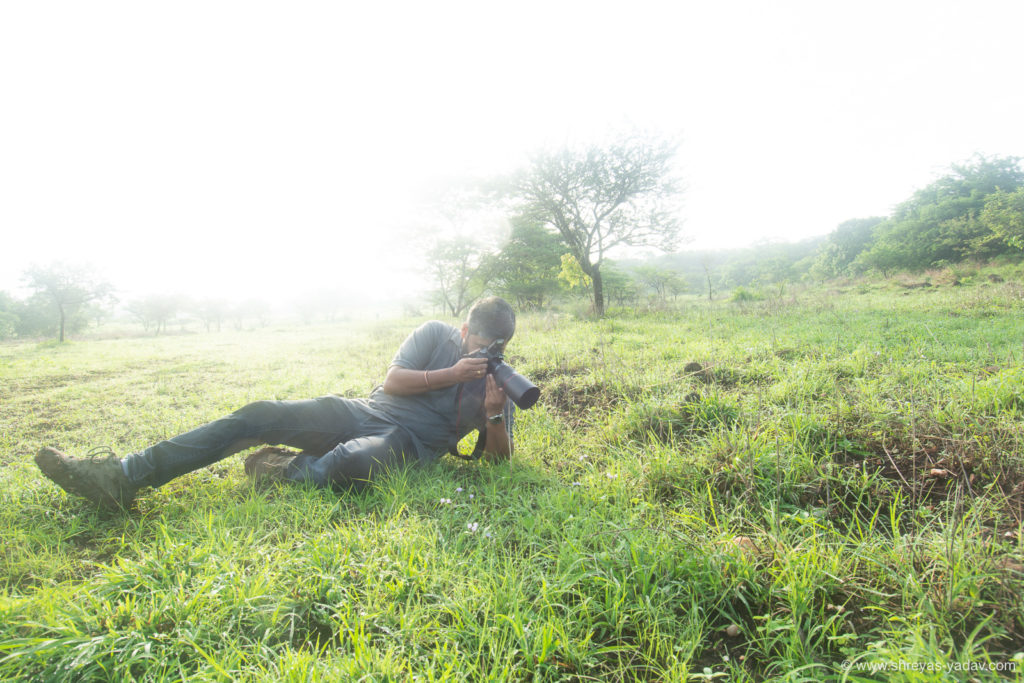
One image will be overexposed.
( Note -While photographing an image, capture RAW pictures with Adobe RGB as color space. Set the bit depth to 14-bit. Use lossless compression. Picture control should be set to standard )
Step # 2: Merge bracketed images in Adobe Lightroom
Its time to take your images for post-processing in Adobe Lightroom
In Adobe Lightroom go to Library module. Import the three images captured earlier ( Three Bracketed images )
In the develop module, select three bracketed images. ( Press Ctrl and selected three images )
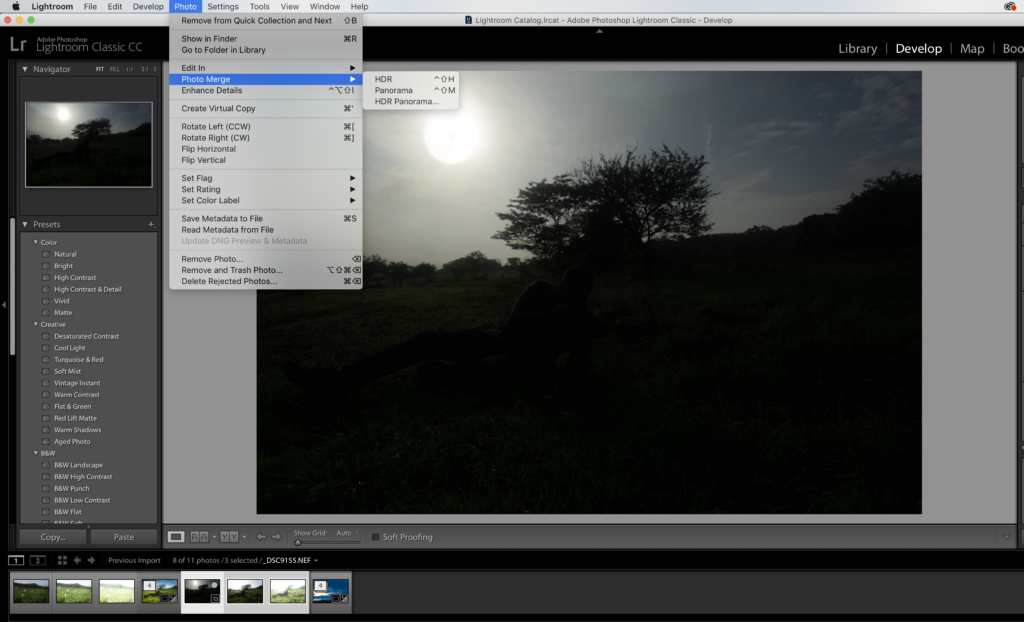
Click on Photo button in the top panel of Adobe Lightroom Develop module. Select Photo Merge > HDR
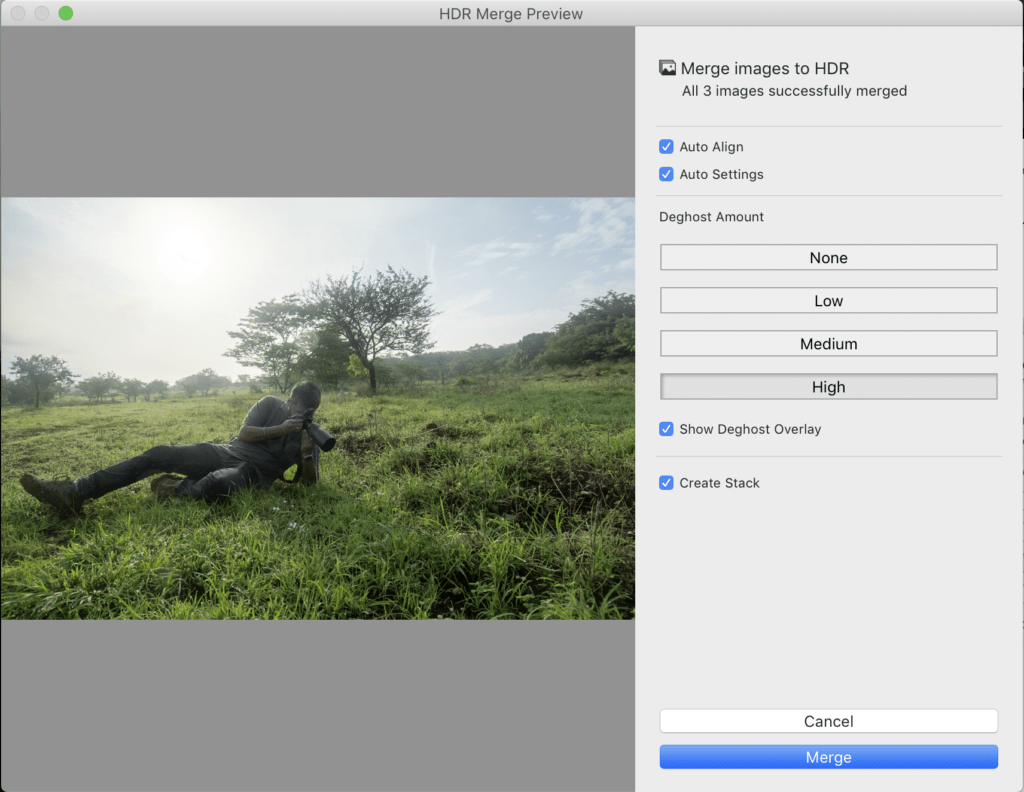
In HDR Merge Preview window, check the Auto Align and Auto Settings checkboxes. Auto-align option will automatically align three images. Auto settings will apply Tonal and color adjustment for the merged HDR image.
Check the Show Deghost Overlay checkbox. It will show the areas in an HDR image which are replaced as that of original images. Apply Deghost Amount as Medium or High.
To creating a stack image with merged images, click the, Create Stack.
Click the Merge button. HRD image will be created with name as [ImageName]-HDR.dng
Note that Adobe Lightroom will add -HDR to the end of the image name. Extension of merged HDR is .dng
An HDR image is created based on three bracketed images.

Note – Do not apply any crop, local or global corrections to the bracketed images. Because, when you merge the images using HDR, all the earlier image adjustments are overridden by HDR Merge.
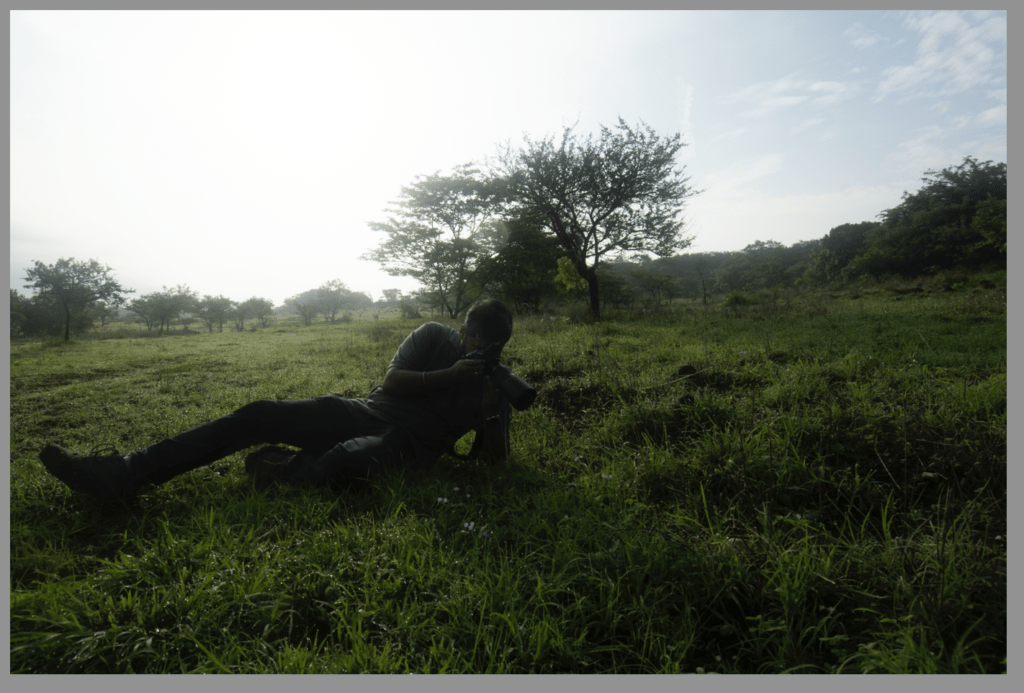
With the merged HDR image ready, let’s look into the third step
Step # 3: Fine-tune Merged image using Adobe Lightroom
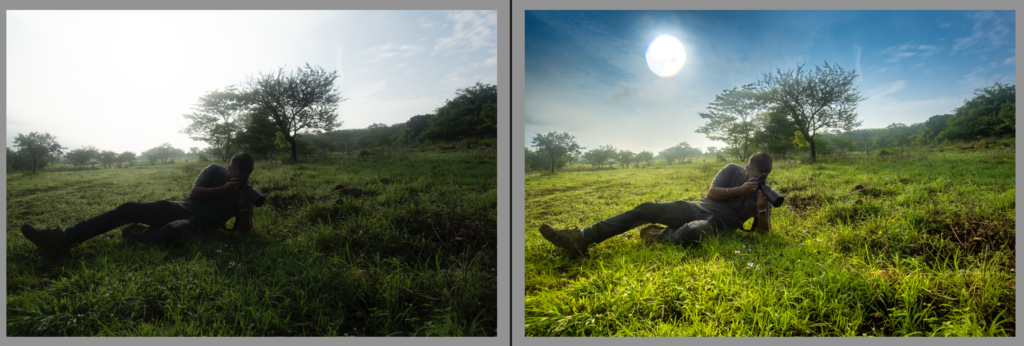
In this step, you will apply tonal and color adjustments to the merged HDR image to create a final HDR image
In the develop module, open the merged HDR image. ( You have already created this image in step # 2 )
In the Global settings, I recommend you adjust.
- Black and white point
- Shadows and highlights
- Dehaze, Vibration, and Saturation
- Exposure
Learn how to apply necessary global adjustments here
In the targeted adjustments, start with following adjustments.
- Black and white point
- Shadow and Highlights
- Luminance and Saturation
- Use Graduated filters, Radial, and Adjustment brush for targeted adjustments.
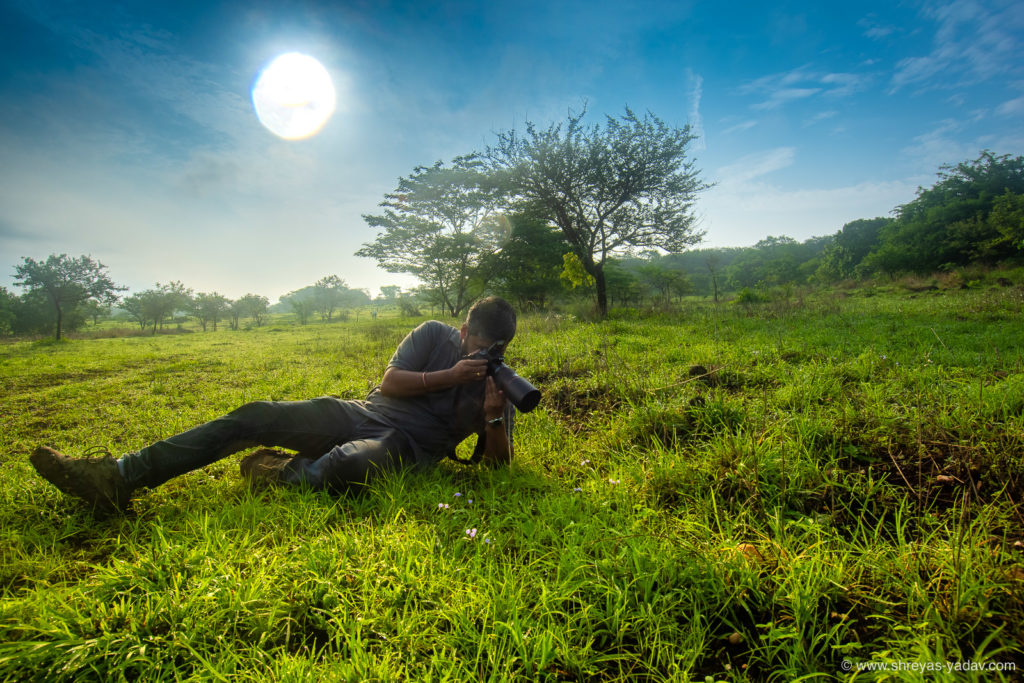
Learn how to apply Targeted adjustments here
There you go! This is a secret of creating stunning HDR images.
Now I would like to hear from you.
Do you find this 3-step formula useful for creating beautiful HDR images?
Let me know by leaving a comment below right now.
Also, don’t forget to share this article on Facebook.
EXPLORE. PHOTOGRAPH. INSPIRE
JOIN OUR NEWSLETTER AND GET THE BEST ARTICLES ABOUT DIGITAL POST-PROCESSING AND PHOTOGRAPHY TECHNIQUES. NO CHARGE. NO SPAM. ONLY LOVE.
You are probably talking about LR classic not LR, In LR there is no module. There is deghost also in LR
Hi Lakshmi,
Yes, it is Adobe Lightroom Classic CC.
Thanks